The People’s Ceramic Fan
Tom Sachs
Tom is a pottery master with a simple problem. When it comes to crafting fine ceramics, one thing impatient chawan masters do is place a fan on the drying clay to make it dry faster. So, he asked me if I could help build a Makita powered fan that would meet the studio’s strict standards. You see, he’s made them in the past using bargain USB fans but we had the genius idea to use a computer fan instead. This immediately sparked a distant memory from the deep recesses of my mind: the sacred name... Noctua. Noctua fans are the choice of the glorious PC gaming master race - a fan so good that nerds are willing to put up with their ‘fugly’ colorscheme for the sake of performance (we think they’re gorgeous).
Flash forward to us admiring the finished object, another thought emerged, "In the spirit of giving, why not share it with our wonderful DIY community?" Whether you are a humble potter or a personal air enthusiast, this might just be the project for you. Below, you'll find the instructions to complete this task.
Before you embark on this journey, please acknowledge that neither myself nor the studio are responsible for any misadventures that may come from DIY participation. We are not responsible for the good or bad that may come from building this device.
3D FILES HERE
Additional Parts:
92mm 12v Noctua 3pin Fan (amazon)
Mini Rocker Switch (amazon)
Makita Replacement Terminal (eReplacementParts)
12” Red + Black 20 AWG wire (amazon)
7x M3 Threaded Inserts (amazon)
3x M3x5 Screws (amazon)
8x M3x12 Scews (amazon)
4” Zip Tie
8” Zip Tie
1/4”-20 Thumb Screw 1” long (mcmaster)
1/4”-20 Nut
18v Makita Battery
Battery Protection Board - optional (partsBuilt3D)
92mm Noctua Fan Grill - optional (amazon)
Small piece of VHB - optional
Tools:
3D Printer (friend with a 3D printer)
Soldering Iron / Solder / Tip Cleaner
M3 Screw Hex Key
Wire Cutters
Hot Glue
Hope

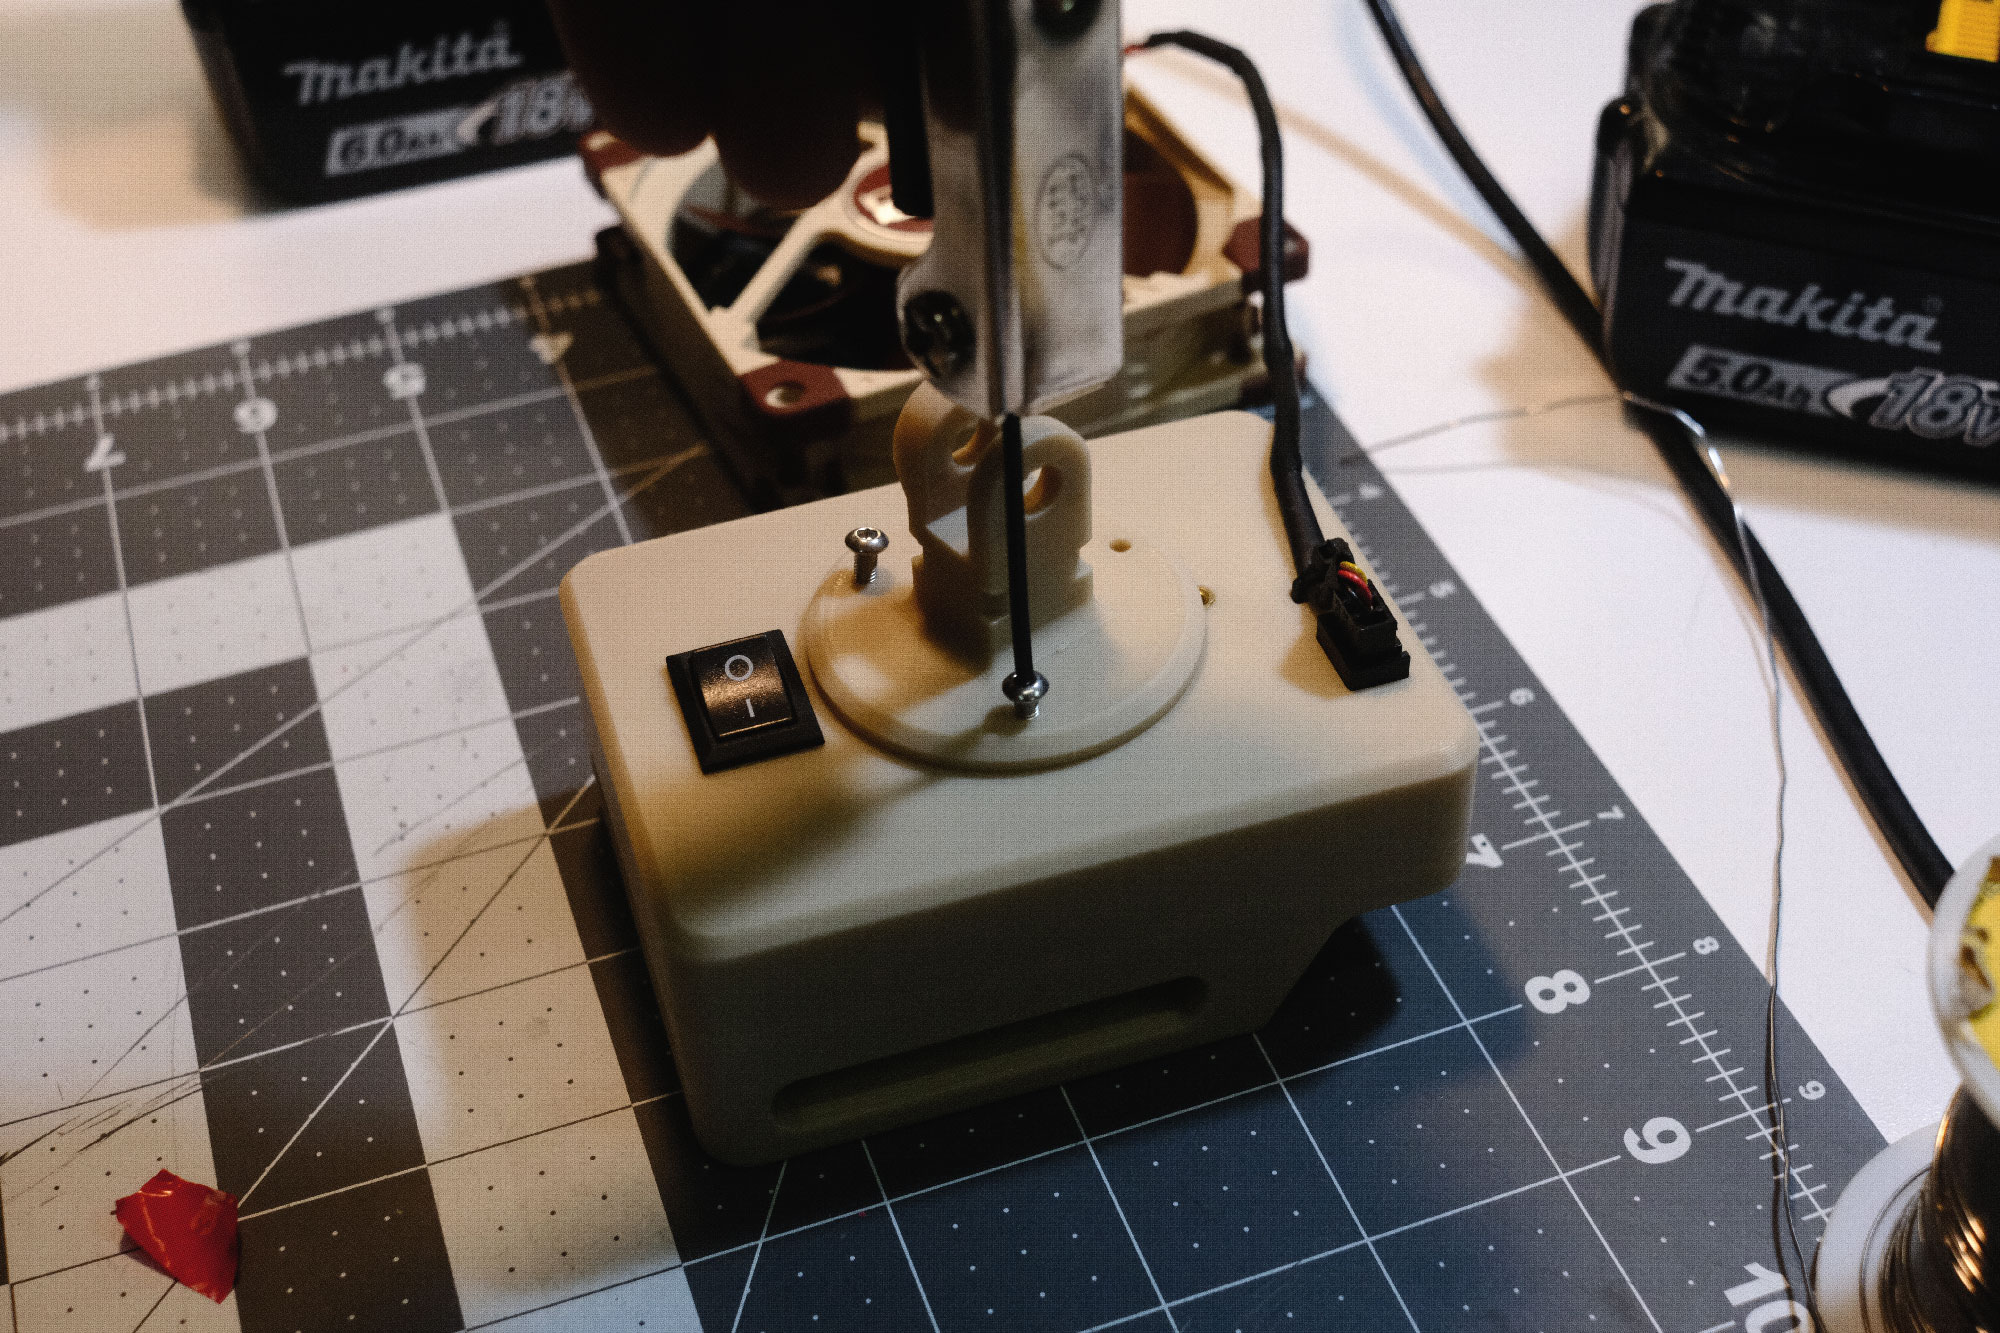
Step 1:
Using a very clean soldering iron (set to 400°C), heat and press the 7 threaded inserts into the print, one at a time. While the insert is still hot, I like to carefully press it in to ensure it sits flush with a flat piece of metal. This task can sometimes leave plastic gunk on the iron, so ensure you clean the tip thoroughly afterward. Take care not to huff the fumes.


Step 2:
Press the Makita replacement terminal into the print, then solder a red and a black wire onto the corresponding terminals. The red wire should be 2” long, and the black wire should be 3.5” long. Don't fret too much about the exact lengths; they can be trimmed later for tidiness.
Step 3:
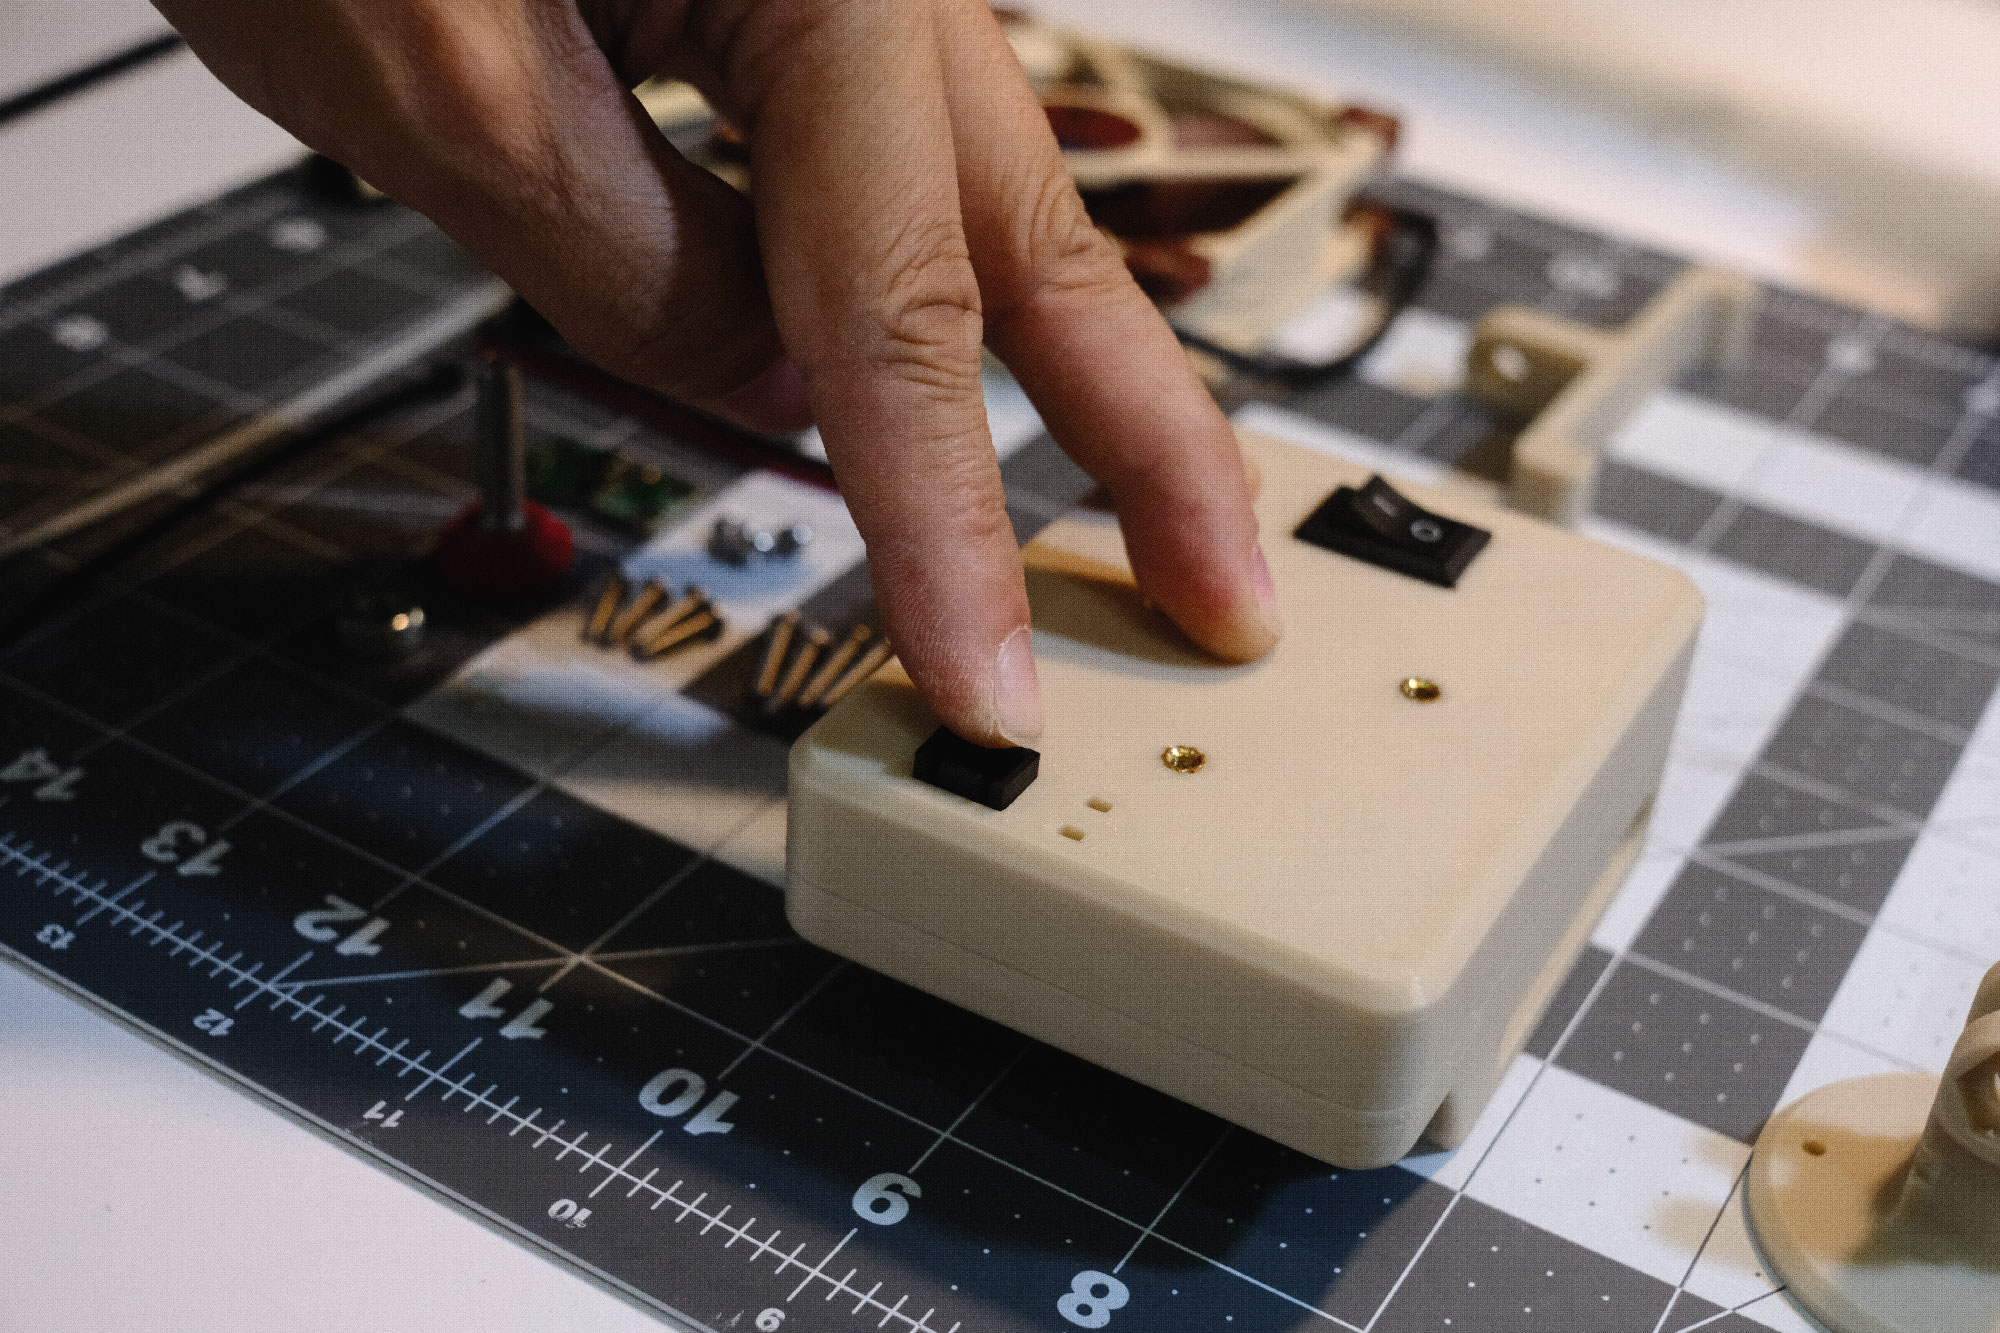
There are four tiny, nonsensical tabs on the mini rocker switch. Please trim these off carefully using a sharp razer (we prefer OLFA brand). If you lack confidence in wielding the blade, seek the assistance of an adult. Once you've removed the tabs, press the rocker switch into the top shell. The switch has metal contacts that are overly long and need to be trimmed or bent before soldering. Check that you've trimmed them enough, by pressing the top and bottom shells together. If the switch pops out, trim some more.


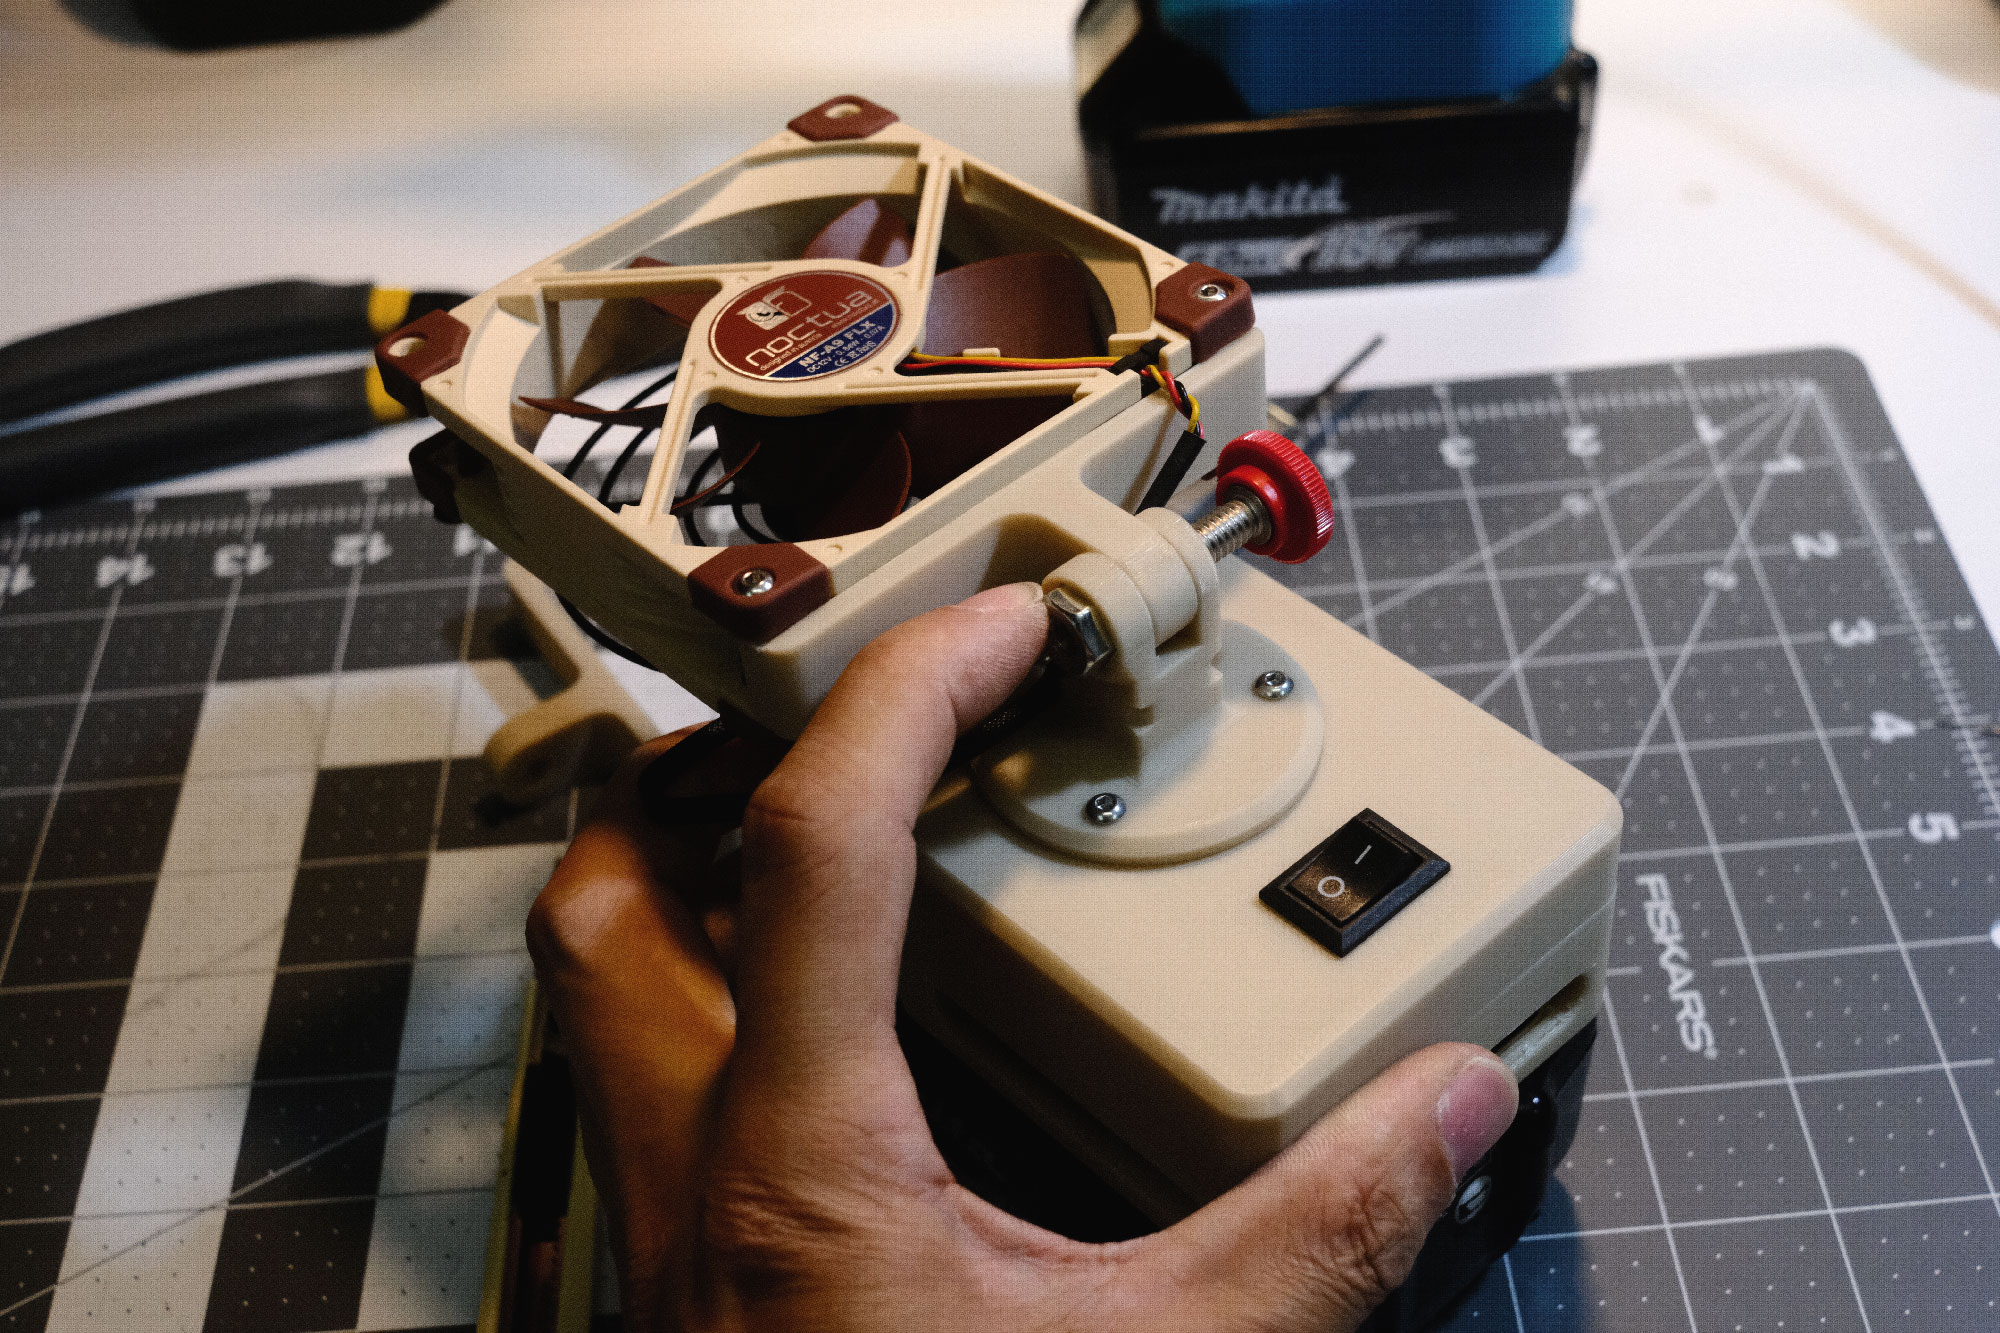
Step 4:
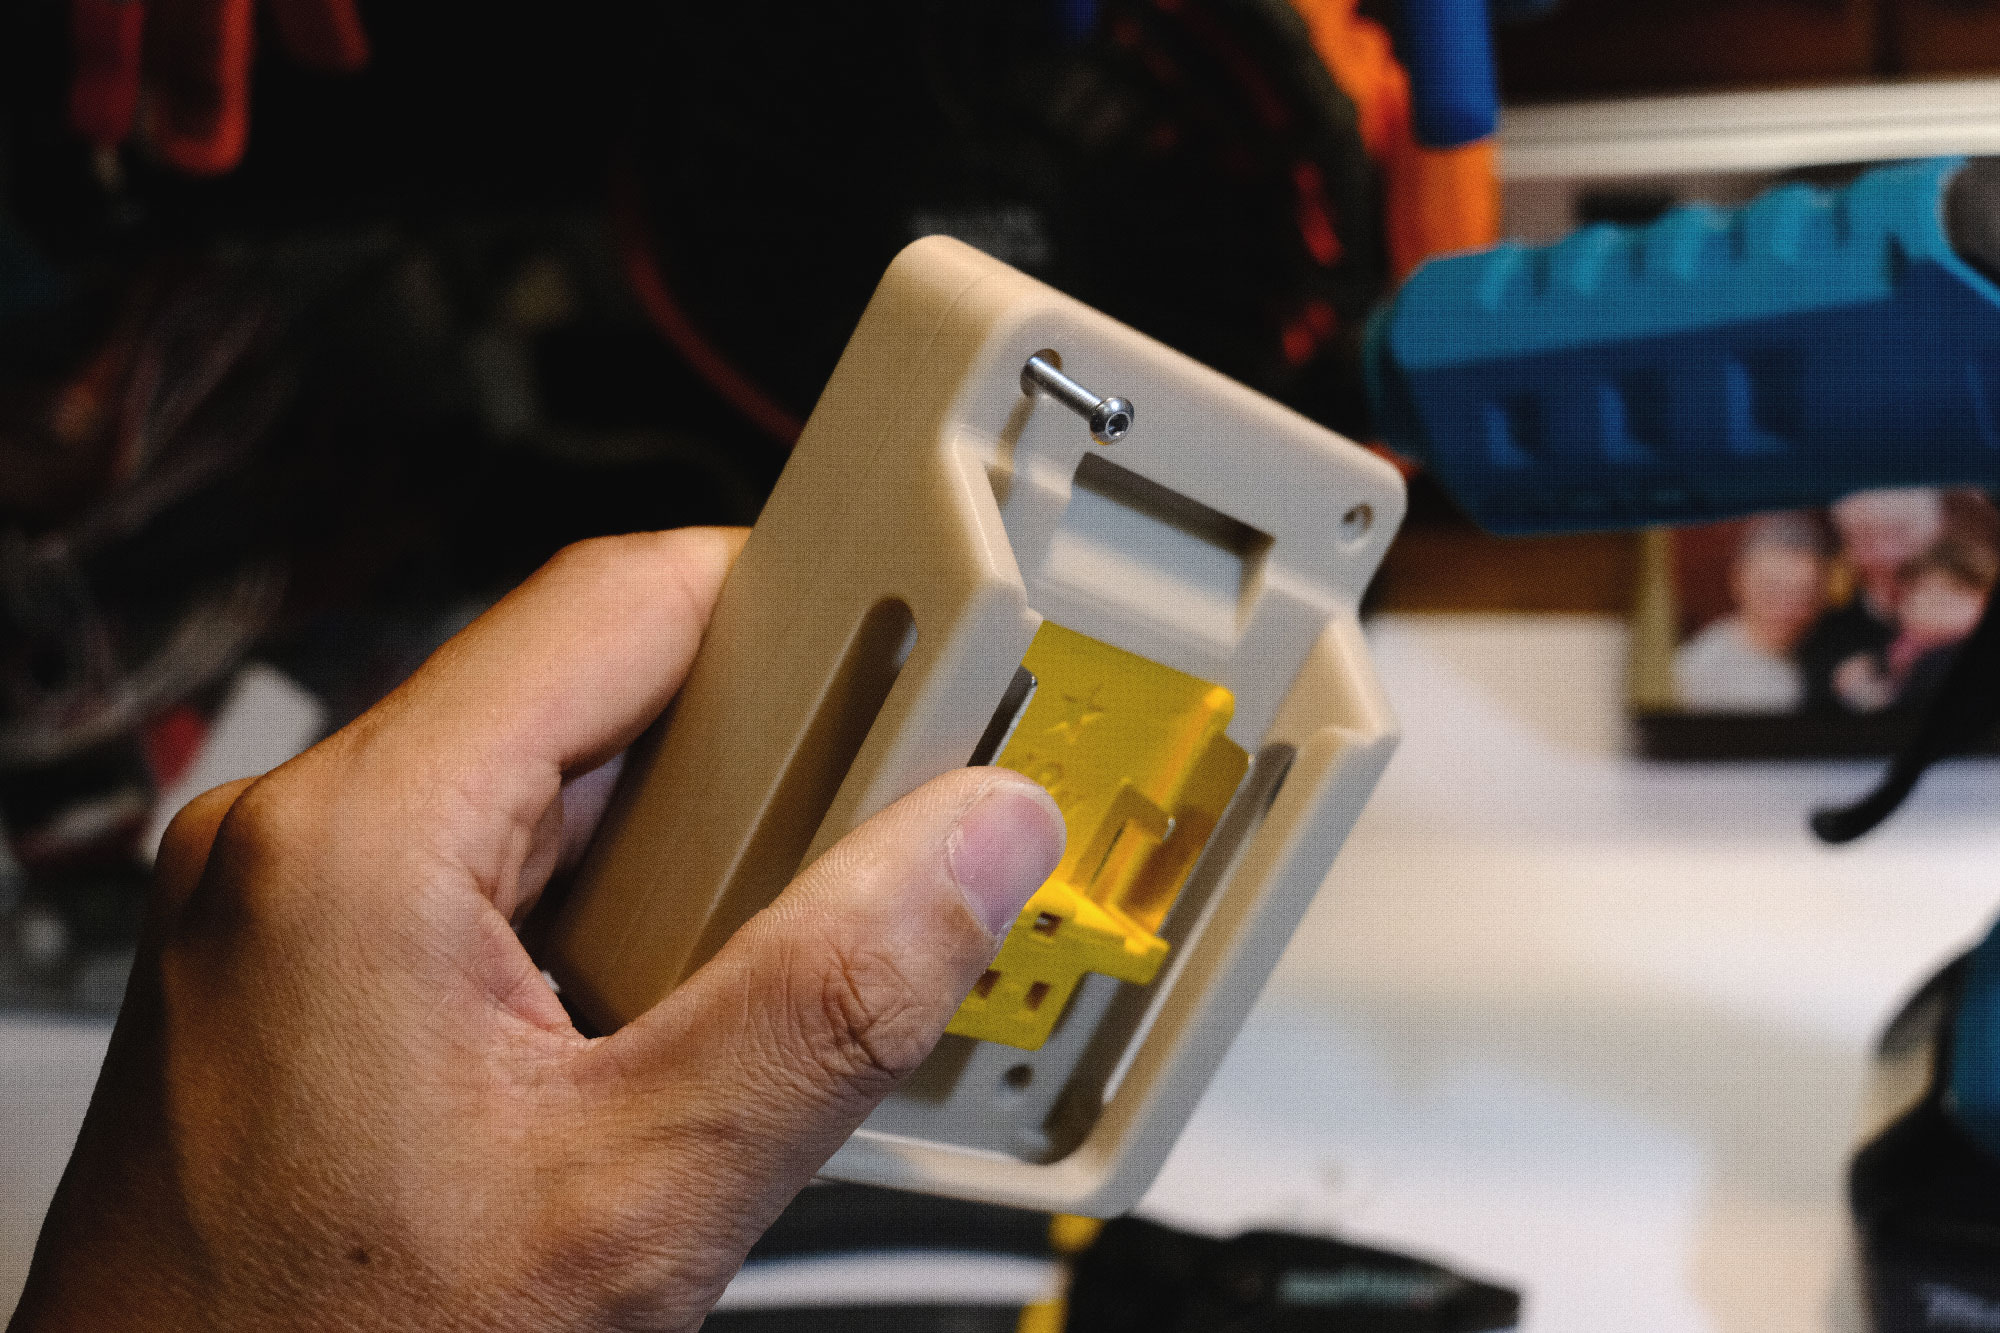
The Noctua fan should have been supplied with several extension cables. Choose one that isn’t labeled “low noise” and snip off its end. Also, remove the sleeve to reveal the red and black wires. Slide the header into the printed shell top and hot glue all around the base. While the glue is still malleable, take the bottom of the shell and press both halves together. The header will protrude slightly from the top, so ensure there's sufficient clearance inside. If, like me, you're OCD as heck, take a moment to double and triple check that the header is well-aligned and not askew.

Step 5:
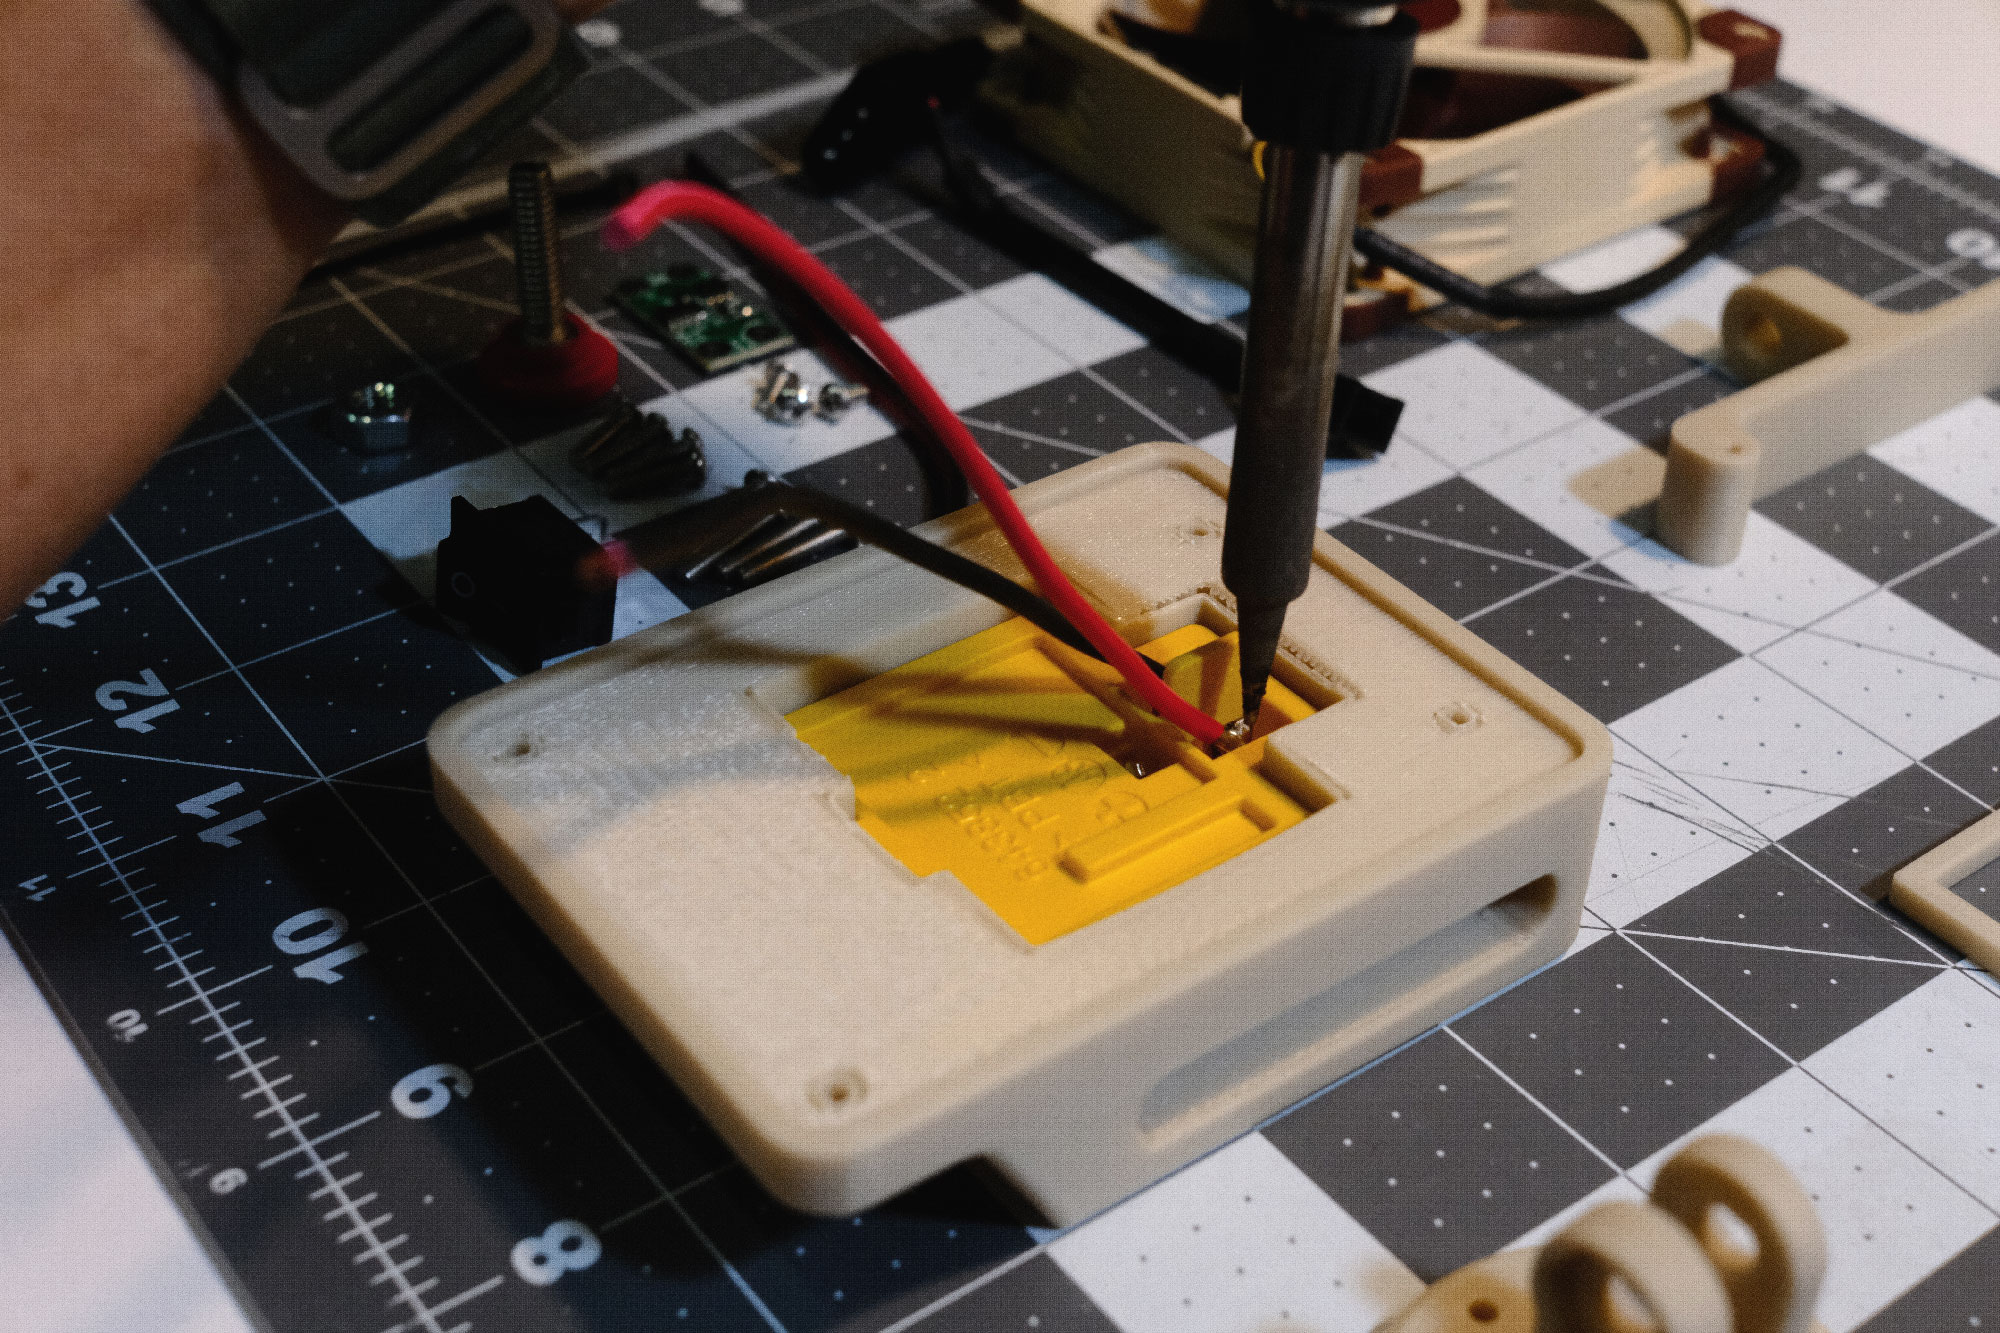
This is arguably the most challenging part of the build: more soldering. I believe in you—do you believe in yourself? Refer to the image below for guidance on connections.
-
Solder the red (positive) from the makita replacement terminal to the switch
- Solder another red wire from the switch to the battery protection board at the "in+" terminal
-
Solder the black wire from the Makita replacement terminal to the battery protection board at the "in-" terminal
-
Solder the red wire from the hot-glued header to the battery protection board at the "out+" terminal
- Solder the black wire from the hot-glued header to the battery protection board at the "out-" terminal
Once you've finished the soldering, press the printed cleat insert into the cavity of the Makita replacement terminal. For added security, I recommend using a piece of 3M VHB tape to secure the protection board in place.


Step 6:
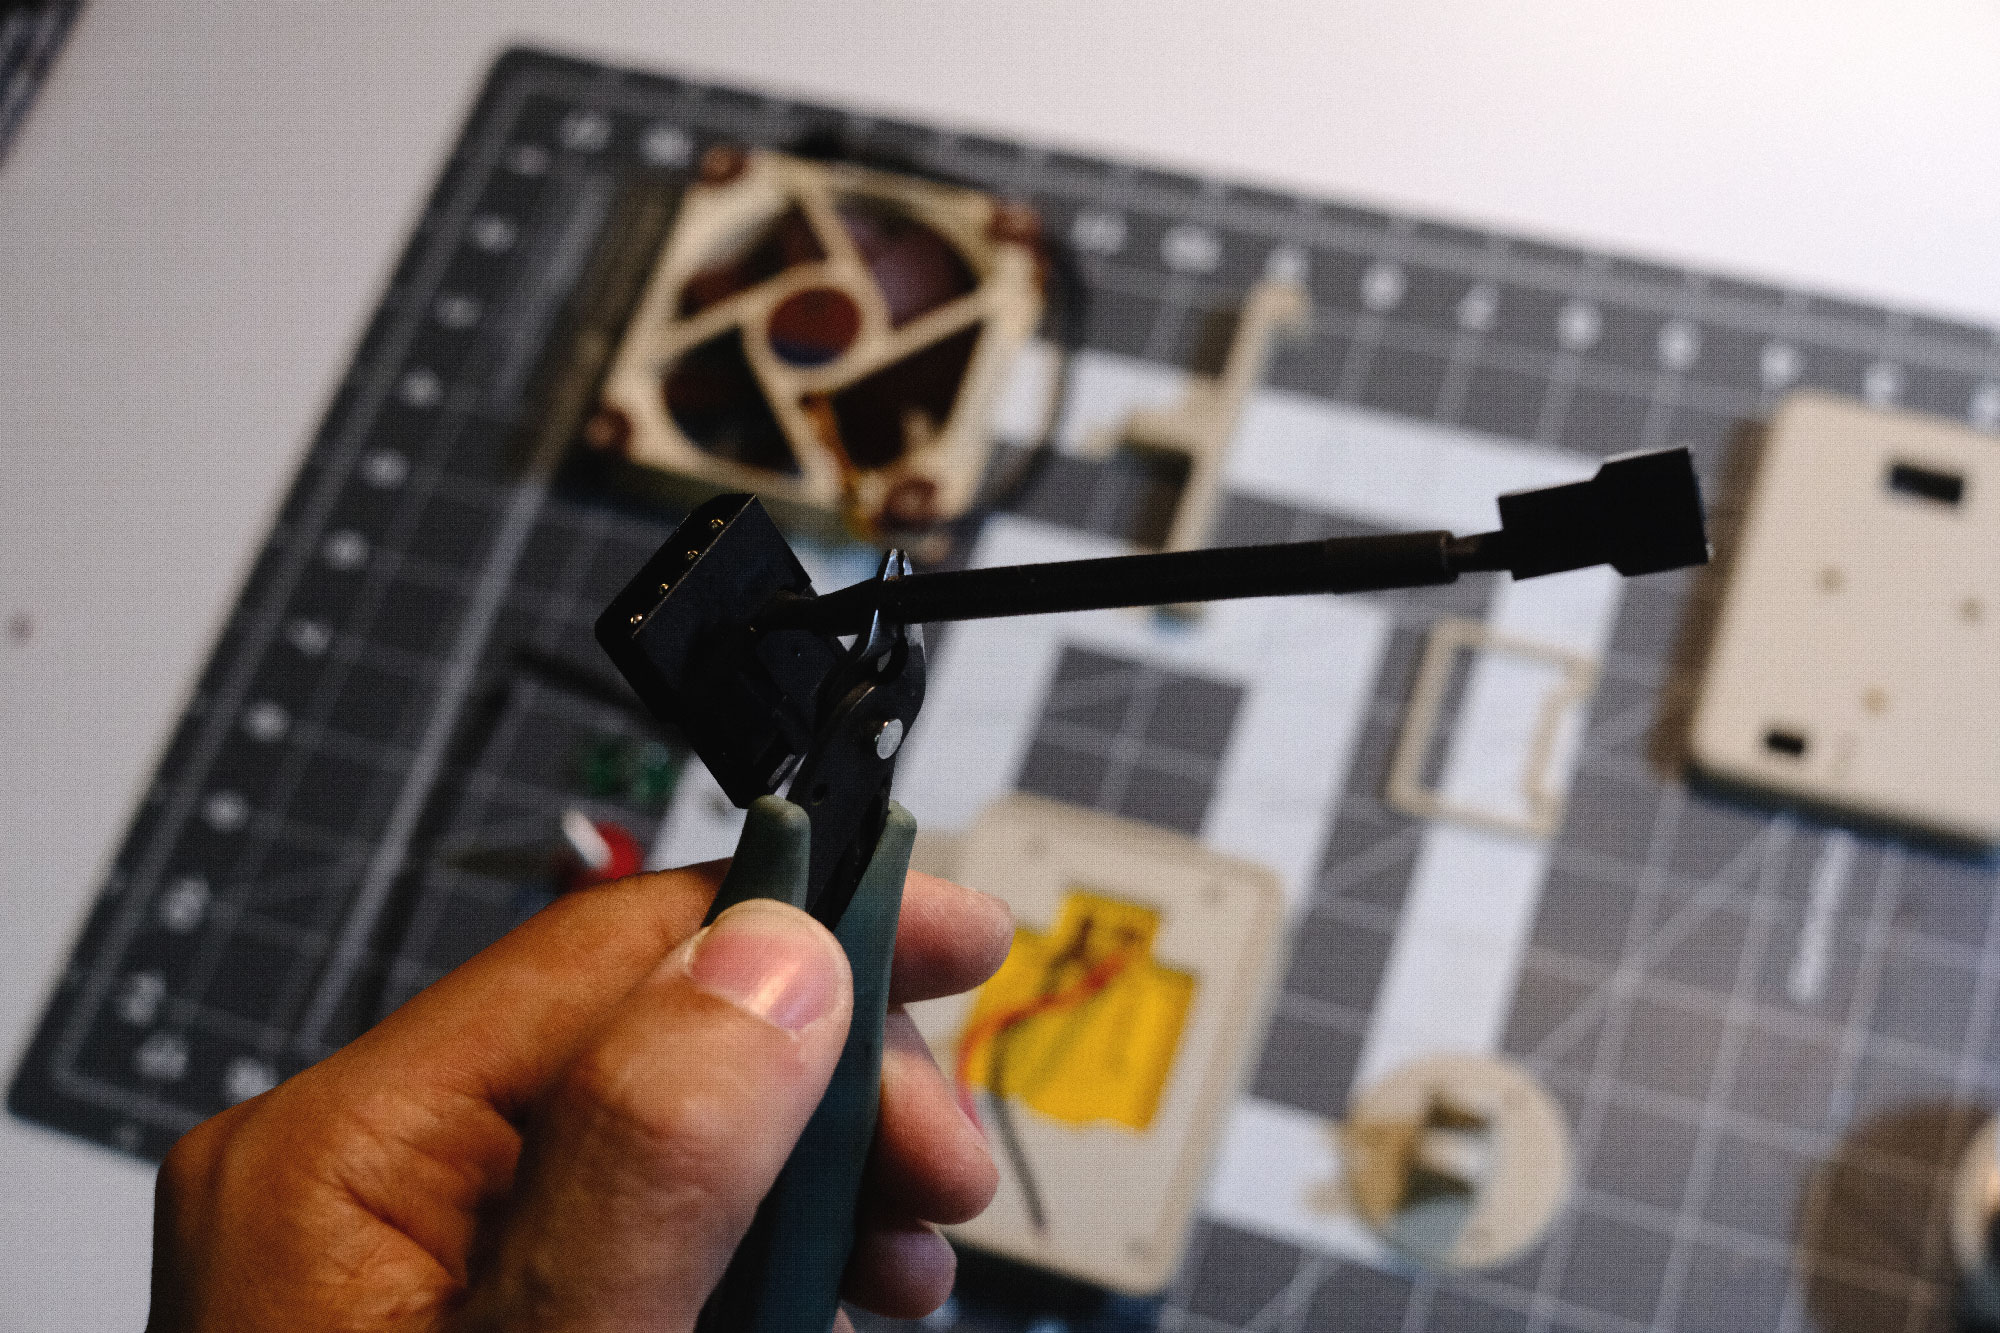
Slide a small zip tie through the two holes on the top shell. Then, connect the Noctua fan's 3-pin cable to the header socket. Now is as good as any time to test your wiring. Plug in a battery and switch on the fan. Cross your fingers and pray that you don’t get a visit from the blue smoke god. If, for some reason, the fan doesn't spin, first double-check the connector to ensure all contacts are seated properly. If that didn’t fix then start going through your soldering job.
Alls well? Secure the fan cable with the 4” zip tie. Be cautious not to pull too tightly on the wires exiting the connector; let there be slack!


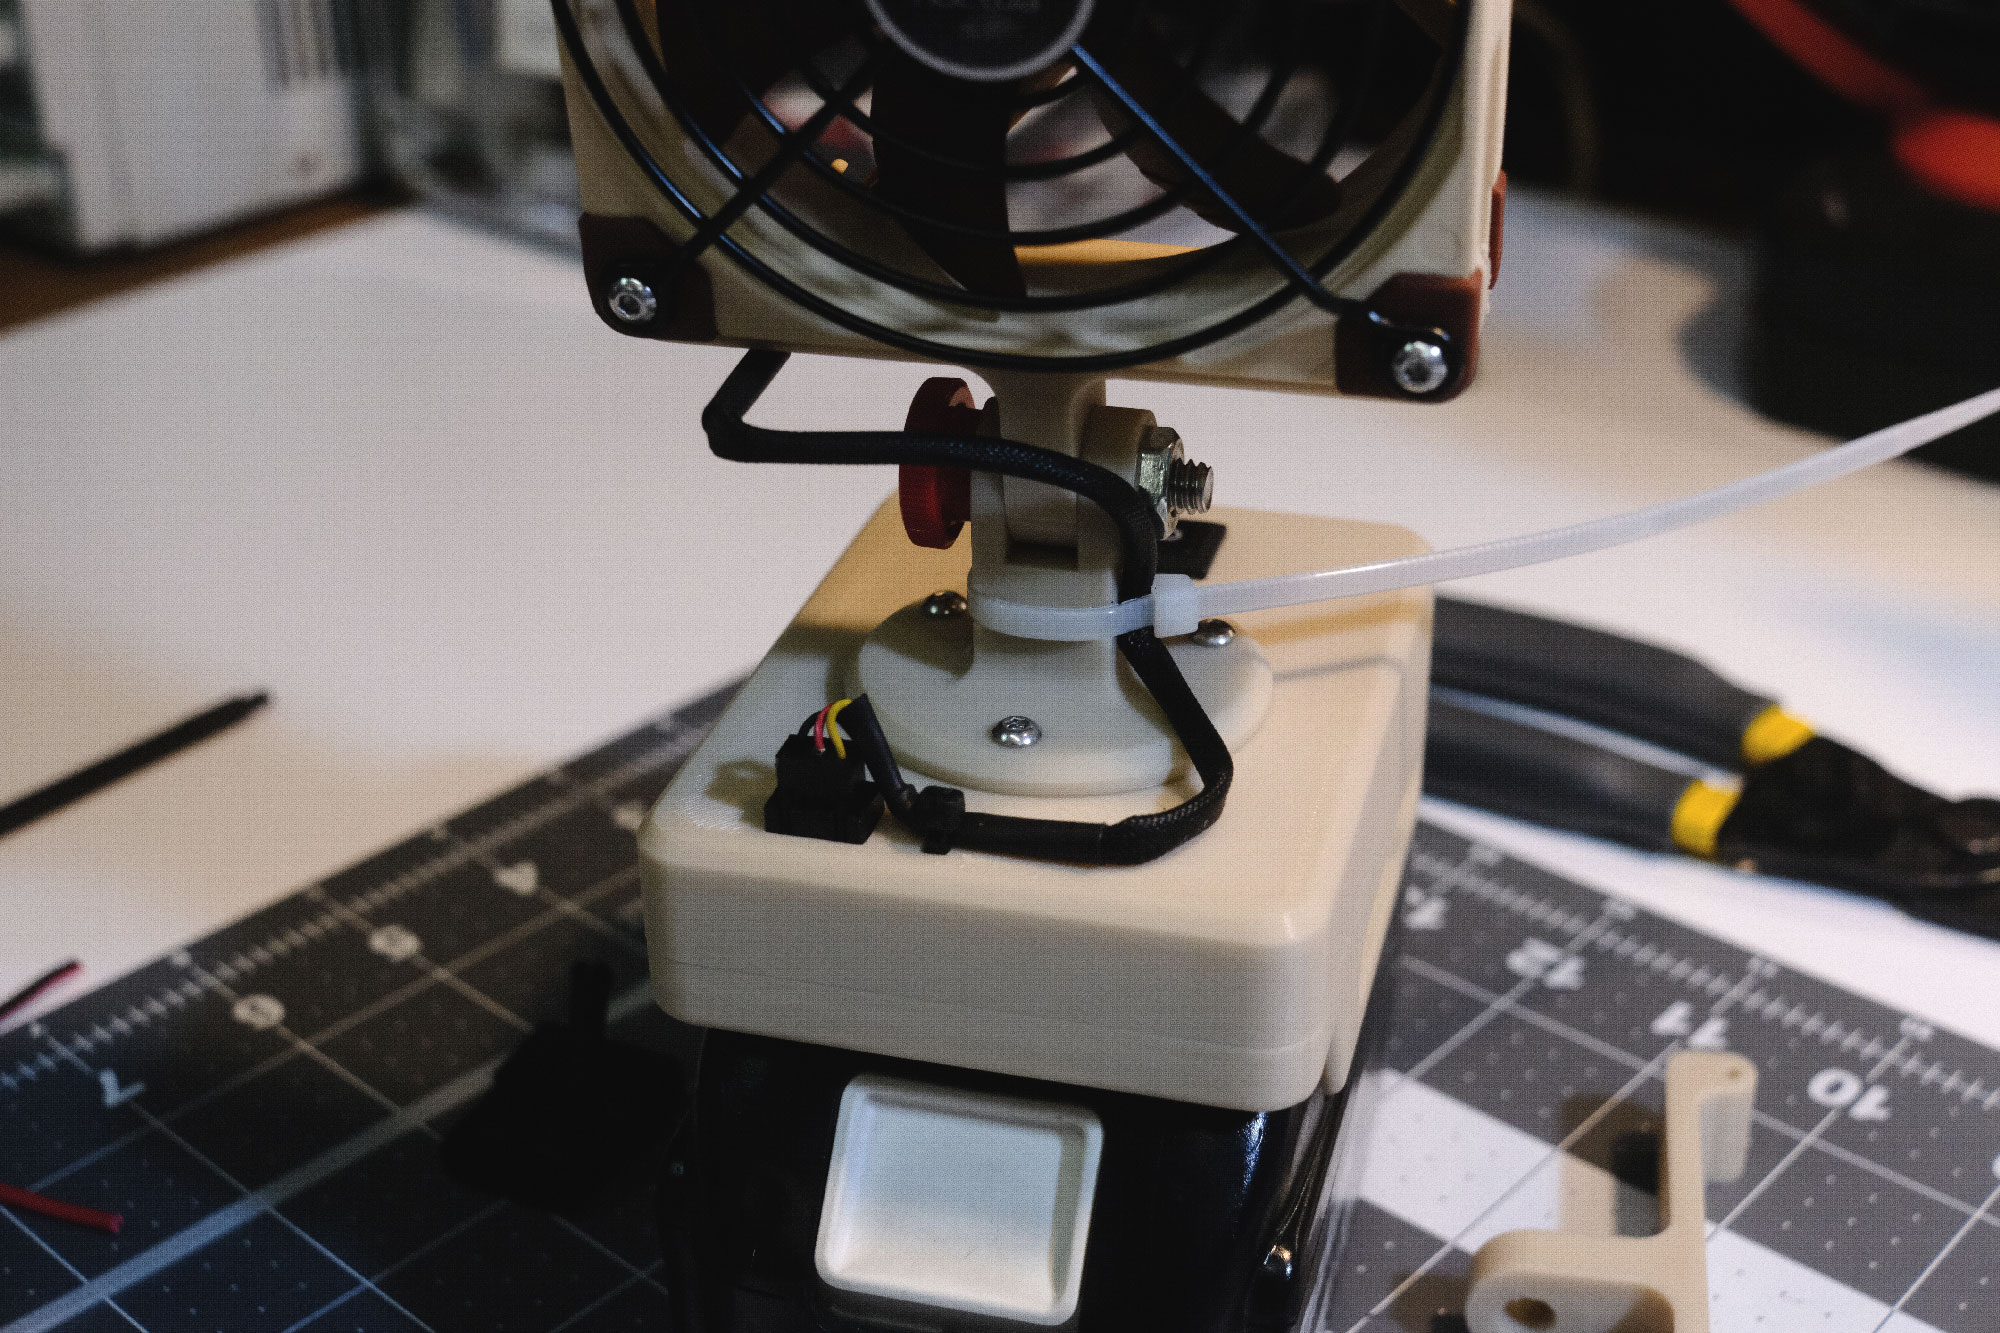
Step 7:
Almost done, let's fasten everything together.
-
Connect the top and bottom shells using 4 M3x12 screws
-
Attach the printed tilt base to the top of the body assembly with 3 M3x5 screws
- Secure the tilt fan connector to the fan using 4 M3x12 screws
Note: Avoid over-tightening the parts. The threaded inserts are durable, but exerting excessive force can damage them.

Step 8:
Thread your 1/4”-20 thumb screw through the two printed tilt base parts. Screw it into the nut that should seat nicely in the hex affordance. The final step is a bit of cable management - zip tie the wire from the fan, again make sure that there’s adequate slack to prevent any single point of failure.
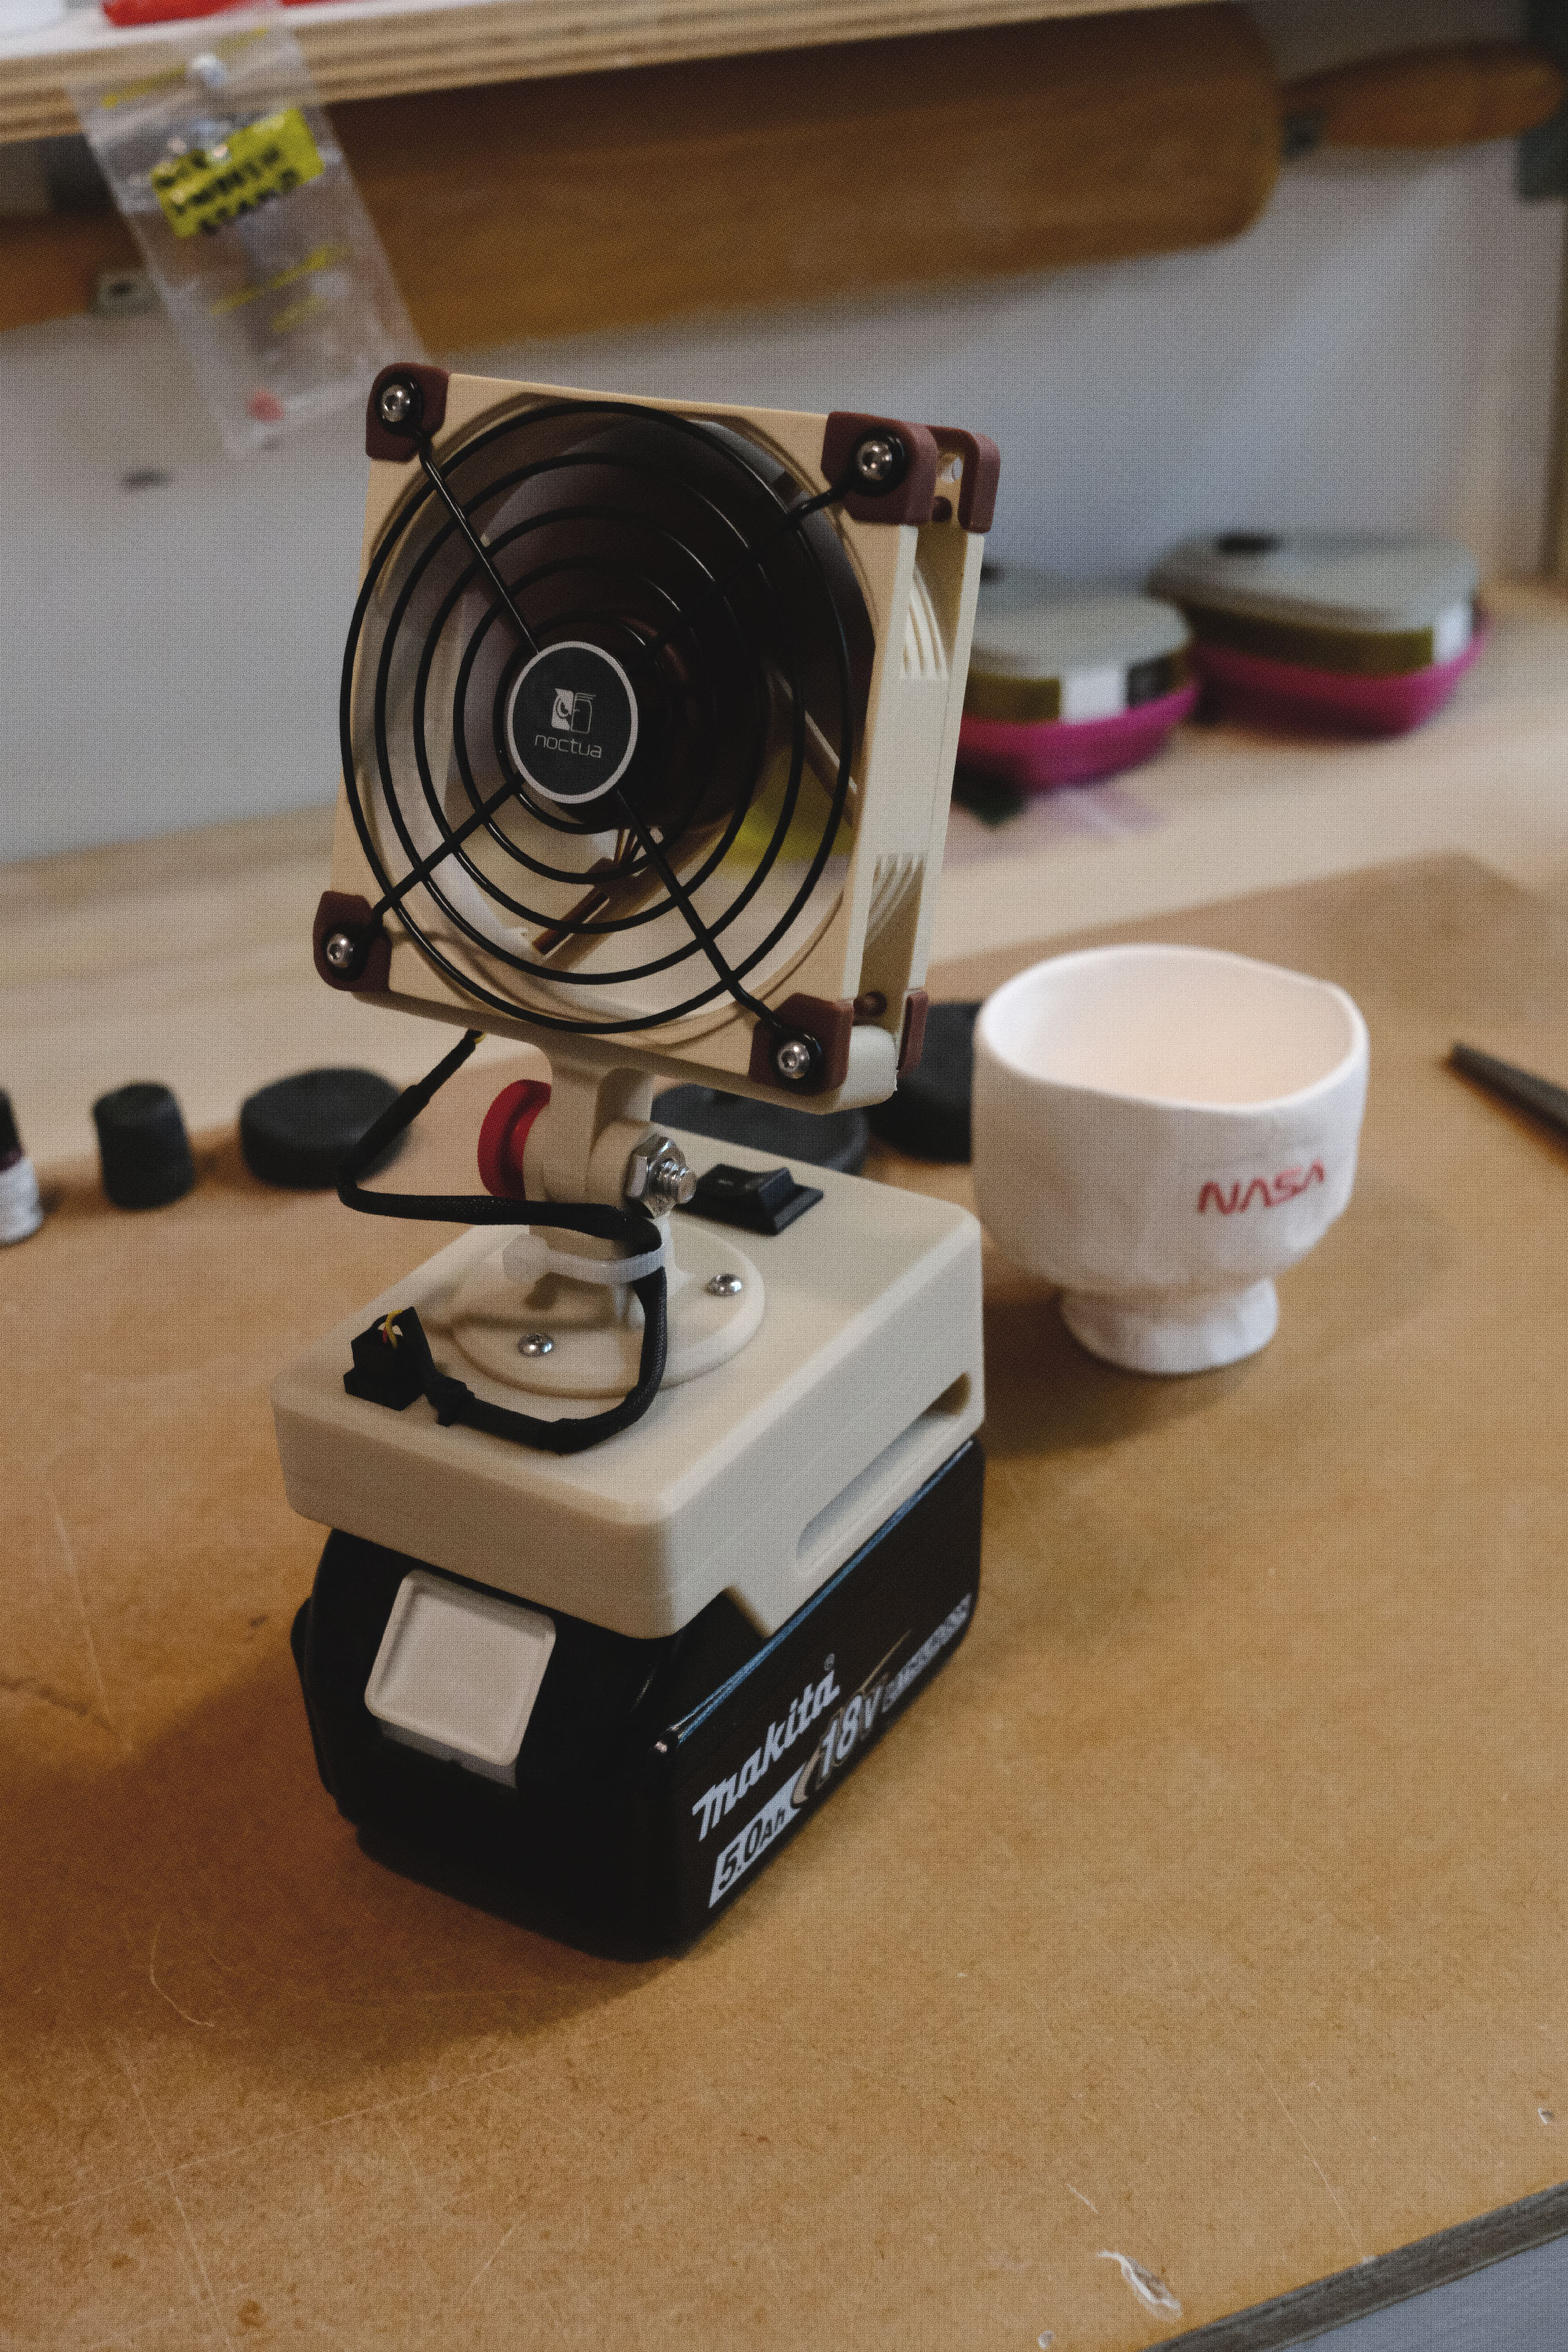
Congratulations, you did it! Hopefully, you navigated through without too many burns or cuts (display them proudly). Ideally you're currently reveling in the delightful comfort of ultra-personal Makita powered air conditioning! If so, we'd love to see your creation—share pictures and remember to tag both Tom and me!
Y1_003

Dome Lamp (Mondrian)
Tom Sachs / Bodega 245
We originally created an edition of twenty Dome Lamps for Tom’s 2023 Isetan show in Tokyo. Much to my delight, all of the units sold swiftly, and it was humbling to receive such enthusiasm for a product I helped birth.
Looking ahead, as the studio's focus shifted to the re-launch of Bodega 245, I was approached about creating an updated version of the Dome Lamp with a Mondrian theme, to which I naturally agreed. To start, we meticulously selected colors that echoed Piet Mondrian’s distinct palette, undergoing numerous tests until discovering just the right swatches.
One aspect I'm quite proud of is offering six unique color combinations by varying the three primary components (rails, switch plate, and battery cleat), with configurations randomly assigned to each customer.
I also refactored some internal lamp components to enhance reliability and simplicity, replacing the finicky pronged LED bulb of the v1 with a sturdier bayonet fitting.
The question of 3D printing's relation to the sacred studio code frequently occupies my thoughts, especially in an era where the capabilities of large language models prompt us to reconsider our ‘god given’ ability to conceptualize. This apparent conflict raises the question: What value do we attribute to creativity?
It's a question that bedevils techniques and methods. While 3D printing offers unprecedented precision and efficiency, it is through human-powered repetition that we spread our ideas to a broader audience, one lamp at a time.
A limited batch will be offered at Bodega 245 and on TomSachsFurniture.com
PLA+ Filament
Battery Protection Board
18v LED, Bayonet Fitting
Apollo Era Switch Protector
3/4” Plywood
Makita Battery
Edition of 24
Y2_001

Makita Phone Charger
Tom Sachs
Since 2017, I've been extraordinarily fortunate to know the master sculptor, Tom Sachs. Our friendship manifests in many forms, including out of the blue requests that tap into my more esoteric skills.
Here’s one such instance that began with a stray text message: “Hey, I’ve got this friend, Kunichi Nomura. He’s the most famous guy in Japan. He wants to party for an entire week at Fuji Rock (it was a tad more illicit than that, but details redacted) without his phone dying. I think one of those huge Makita batteries would do the trick!”
I find these spontaneous challenges both exhilarating and intimidating. Exhilarating because every time I’ve collaborated with Tom, I’ve acquired countless invaluable skills. Intimidating because, to be honest, my electronics know-how is more 'junkyard wars' than 'technocrat’.
My first task was to suss out a suitable method to transfer power from the Makita battery to the phone. Tom had initially imagined a tether, symbolically connecting the two - America and Japan. It's been some time since we witnessed such an epic collaboration between two nations. The last one that comes to my mind was the heaven defying alliance between the Russians and Americans in space with Apollo and Soyuz.
*author's note: incredible feats occur when nerds of varied cultural backgrounds and political neutrality unite under the banner of science
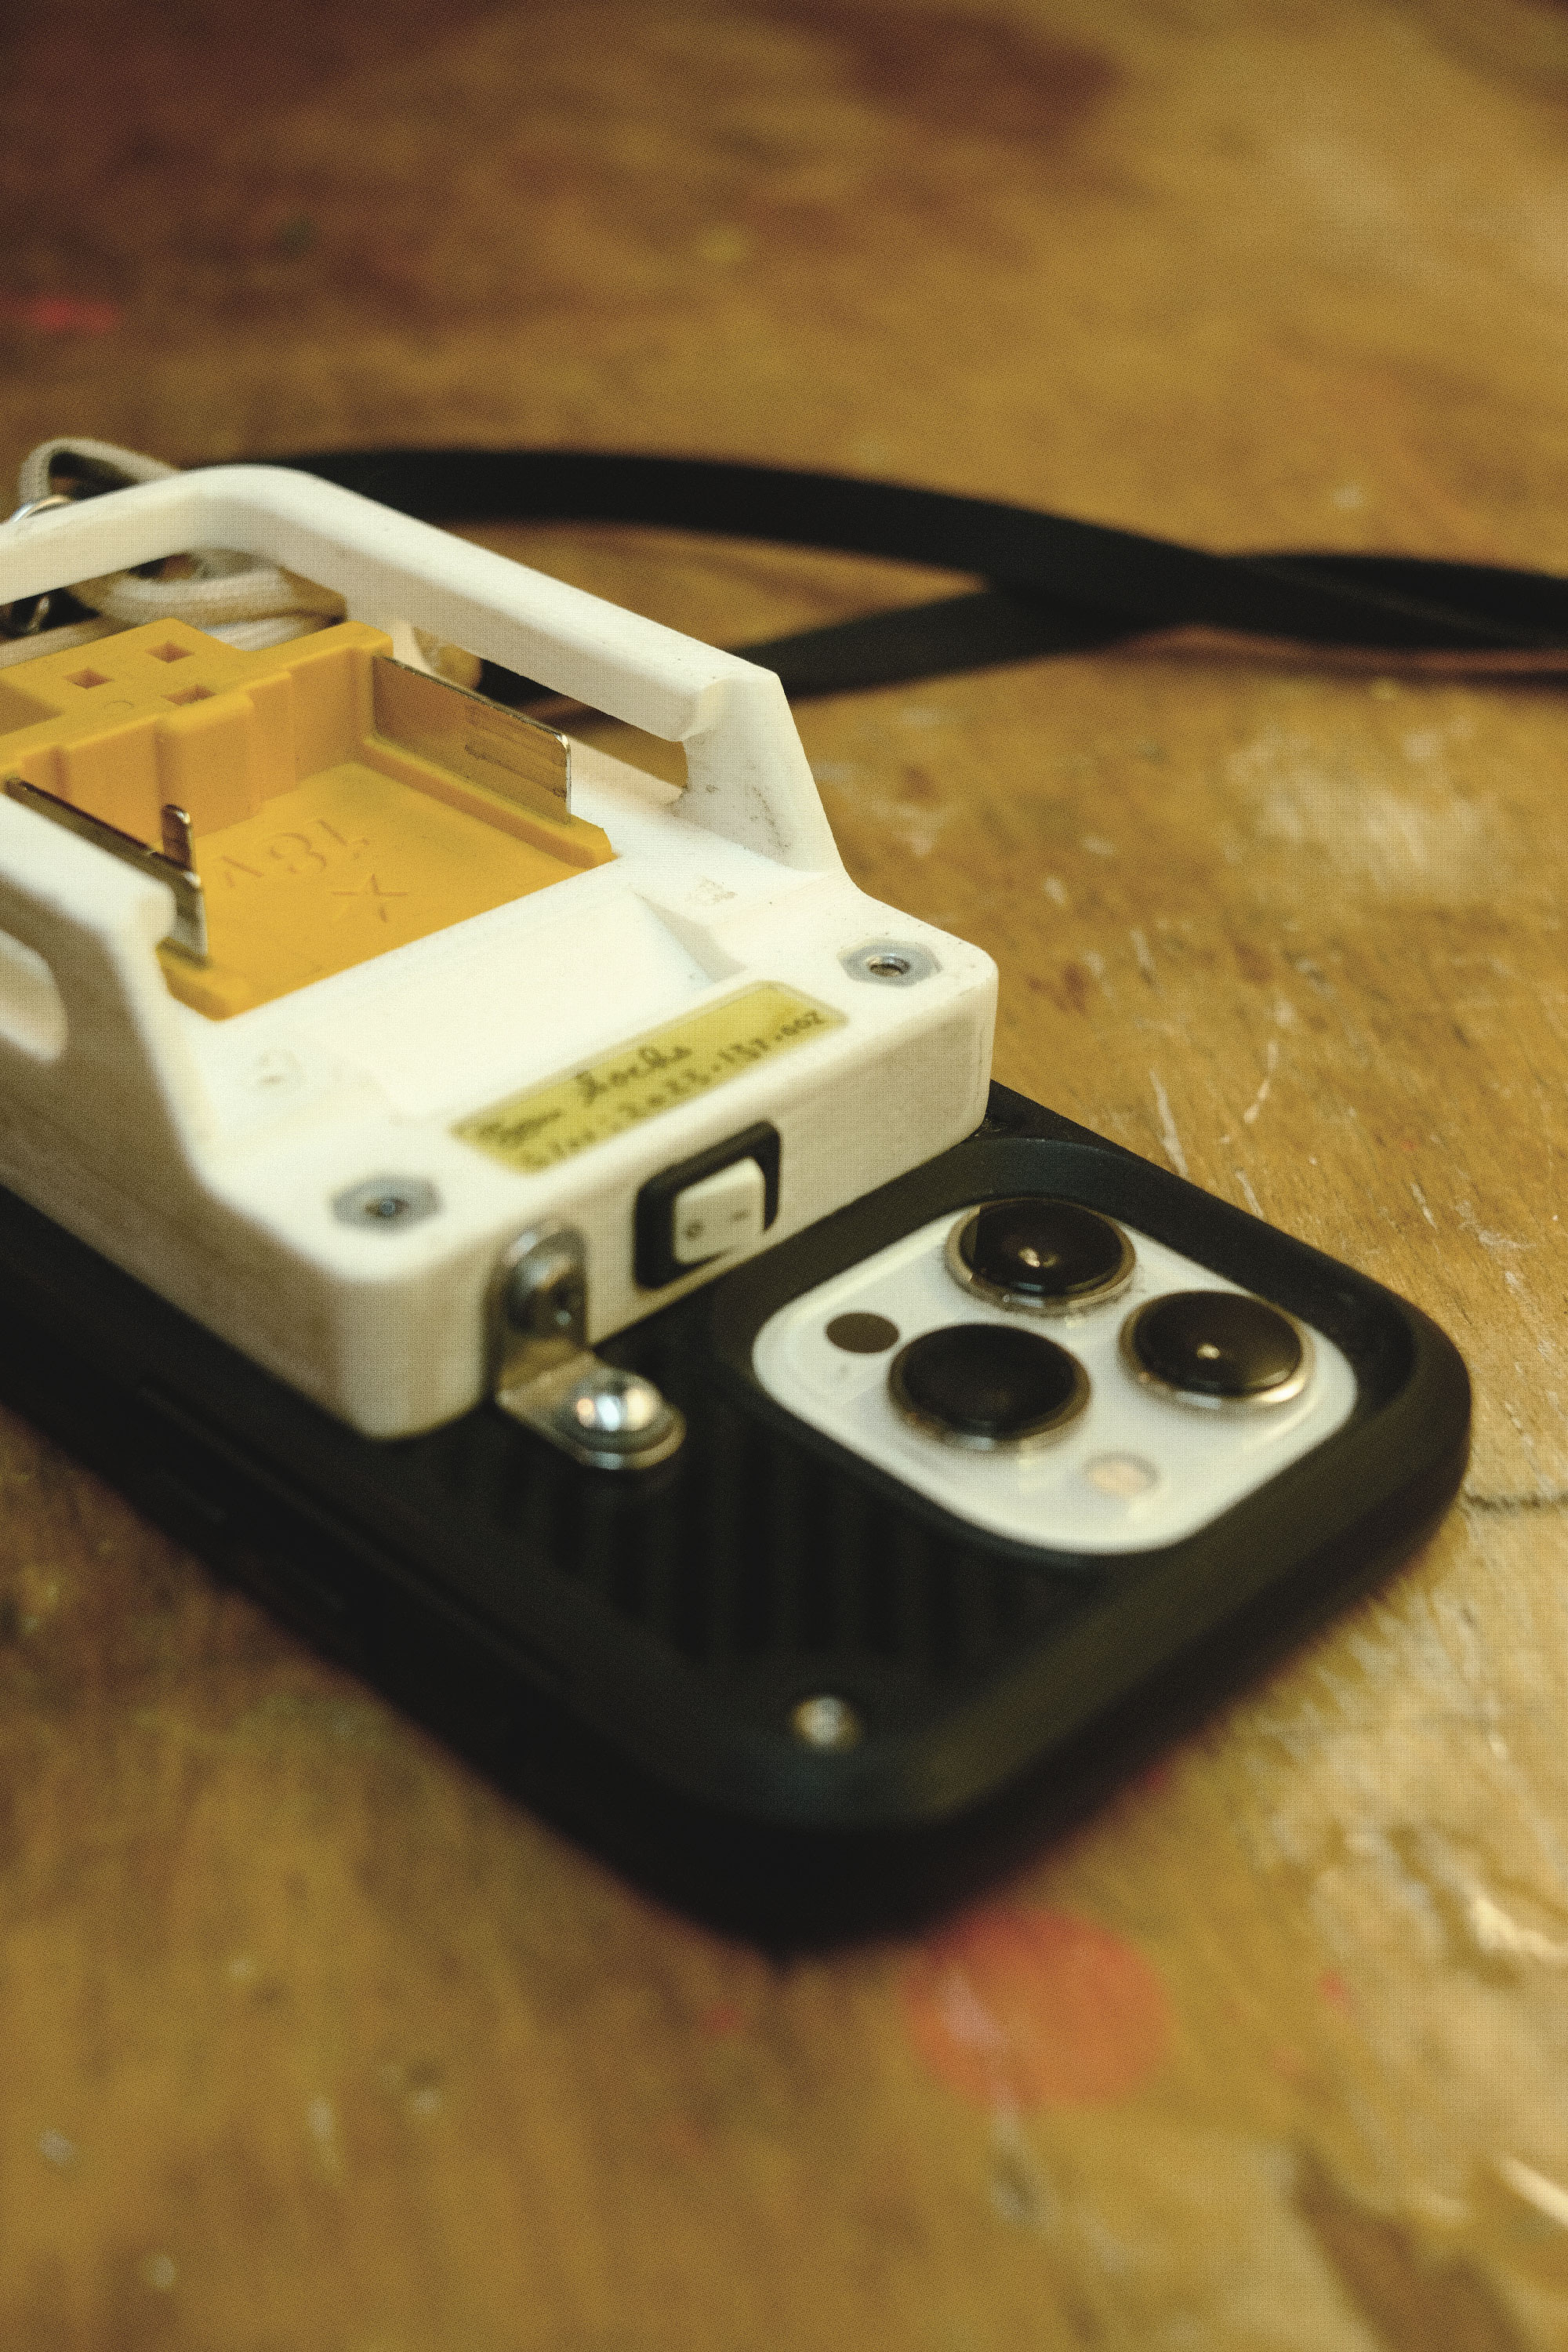
While a tether could be an option, I believed there was a more suitable solution that wouldn't monopolize the phone's precious lightning port – the sole orifice for attaching headphone cables. I suggested using a wireless QI charging coil, which I carefully harvested from a budget-friendly magnetic battery pack from Best Buy, made in China. To my surprise, the donor charging board integrated painlessly with our Nippon-sourced power – Japan and China micro-politics nirvana.
With the electronics magic sorted, I shifted focus to physically fusing the two entities - iPhone and battery cleat. It needed to be more than just a slapped on battery; it had to withstand the rigors of “Tom-proof” usage. This meant creating a package durable enough to endure daily drops from at least hip height. The OtterBox is renowned the world around by the ‘dropper’ aristocracy, so that was our starting point. The cleat was a tweaked version of the one we’ve provided free to the community, enhanced with additional geometry to align the QI coil and accommodate the extra components. The two bonded together in unholy matrimony using #6 flanged machine screws.
Everything was humming along at a million miles per hour, with the first working prototype printed and assembled in under 48 hours. I thought, ‘welp, my work here is done…’.
… Then I received the following dreaded text message: “I’m sorry, I dropped it from no more than table height and it shattered into a billion pieces. Also, it doesn’t charge fast enough; it’s more tortoise than hare.”
So, I headed back to the drawing board. Silly me, I failed to acknowledge a lesson that's been drilled into my head time and time again: don't overly optimize for the minimal. Everything must be bombproof, because it's one thing to get feedback from Tom during testing, but it's an entirely different catastrophe if a patron has to knock on the door for tech support.
The first change we made was to the phone case, swapping it for a carbon fiber-reinforced Pelican, which provided a superior mounting surface. Next, we needed a hardier way to attach the cleat. Thankfully, the labyrinthine resources of the Tom Sachs studio - arguably the most resource-rich private hardware cache known to humankind - harbored the answer. Nestled within a drawer, a collection of unusually minute flanges offered an unexpected solution. Lastly, to increase the charging speed, I replaced the step-down regulator with a superior Pololu and donored a deluxe external battery pack from the depths of Amazon.com.
Mission accomplished!
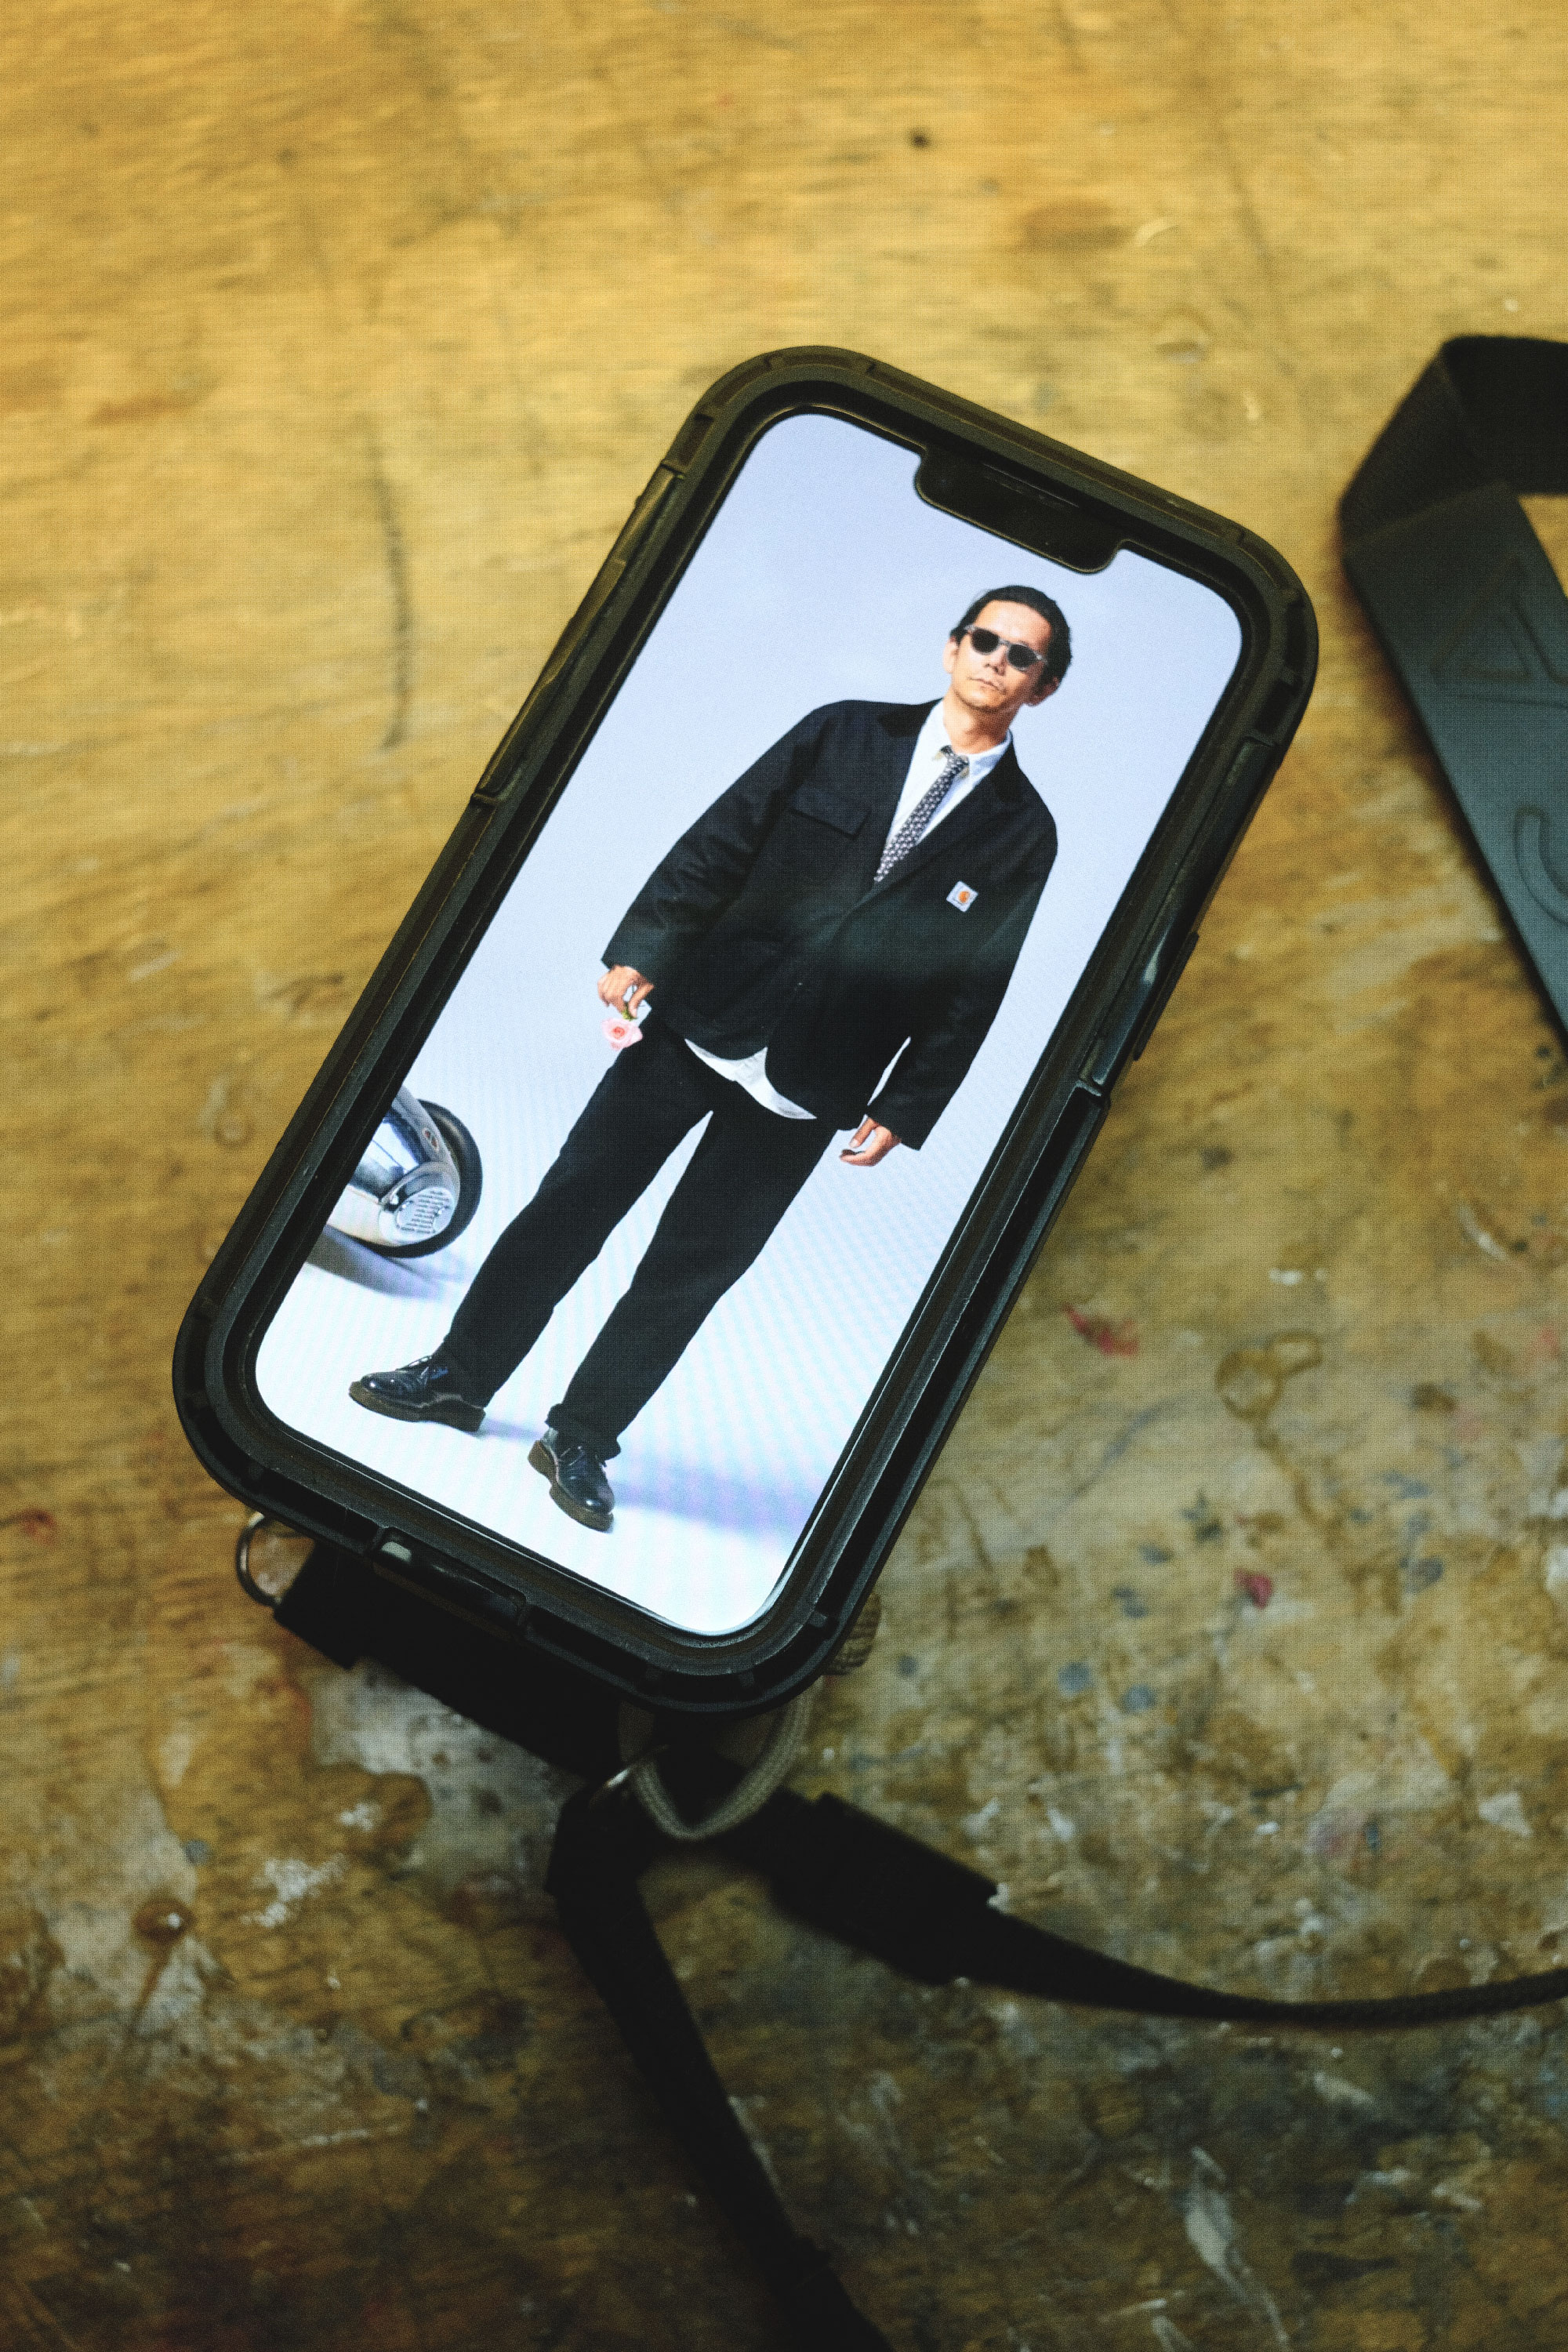
What you see in the attached photos are a showcase of weeks of refinement. Thankfully, there've been no more alarming messages from Tom. We've made four examples in total, with one being gifted to the Mayor of Megasaki - Kunichi Nomura. Do check out Kun’s Instagram feed; our unreasonably bulky phone case has become a staple of his daily carry.
PLA+ Filament
Pelican Carbon Case
Battery Protection Board
Makita Replacement Terminal
Pololu Step Down 5v/5a Reg
Makita Battery
Edition of 4
Y1_001


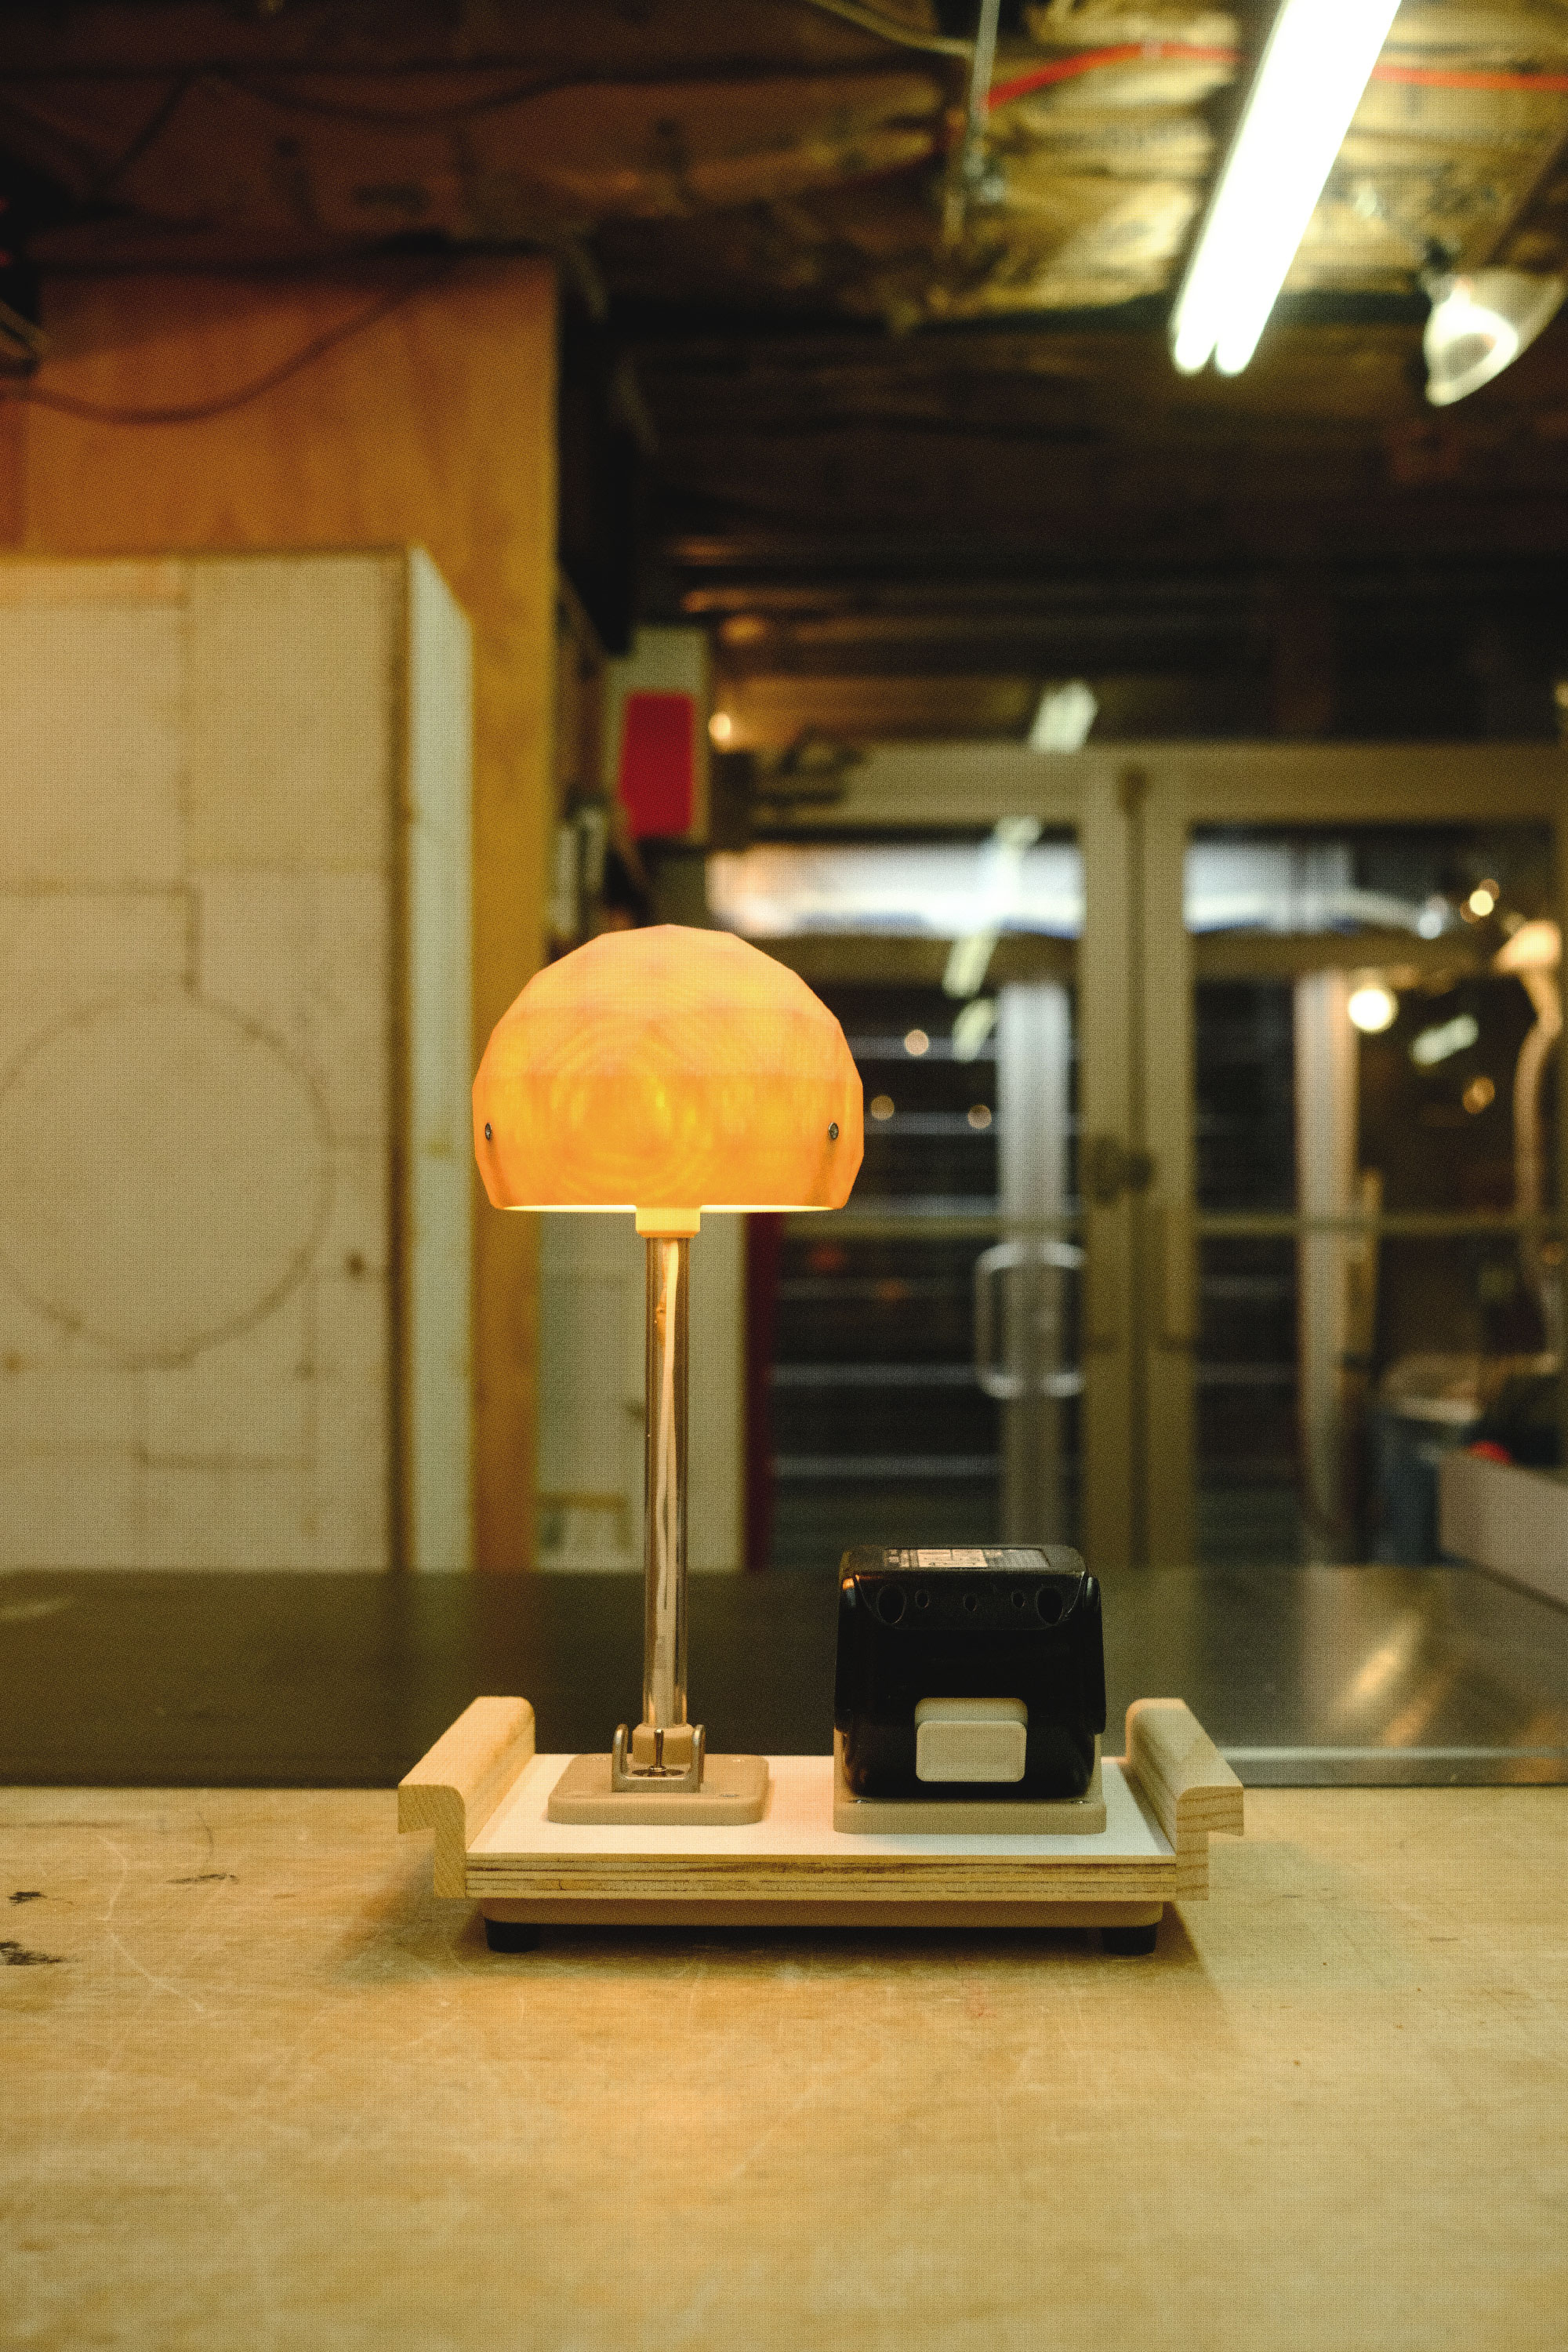
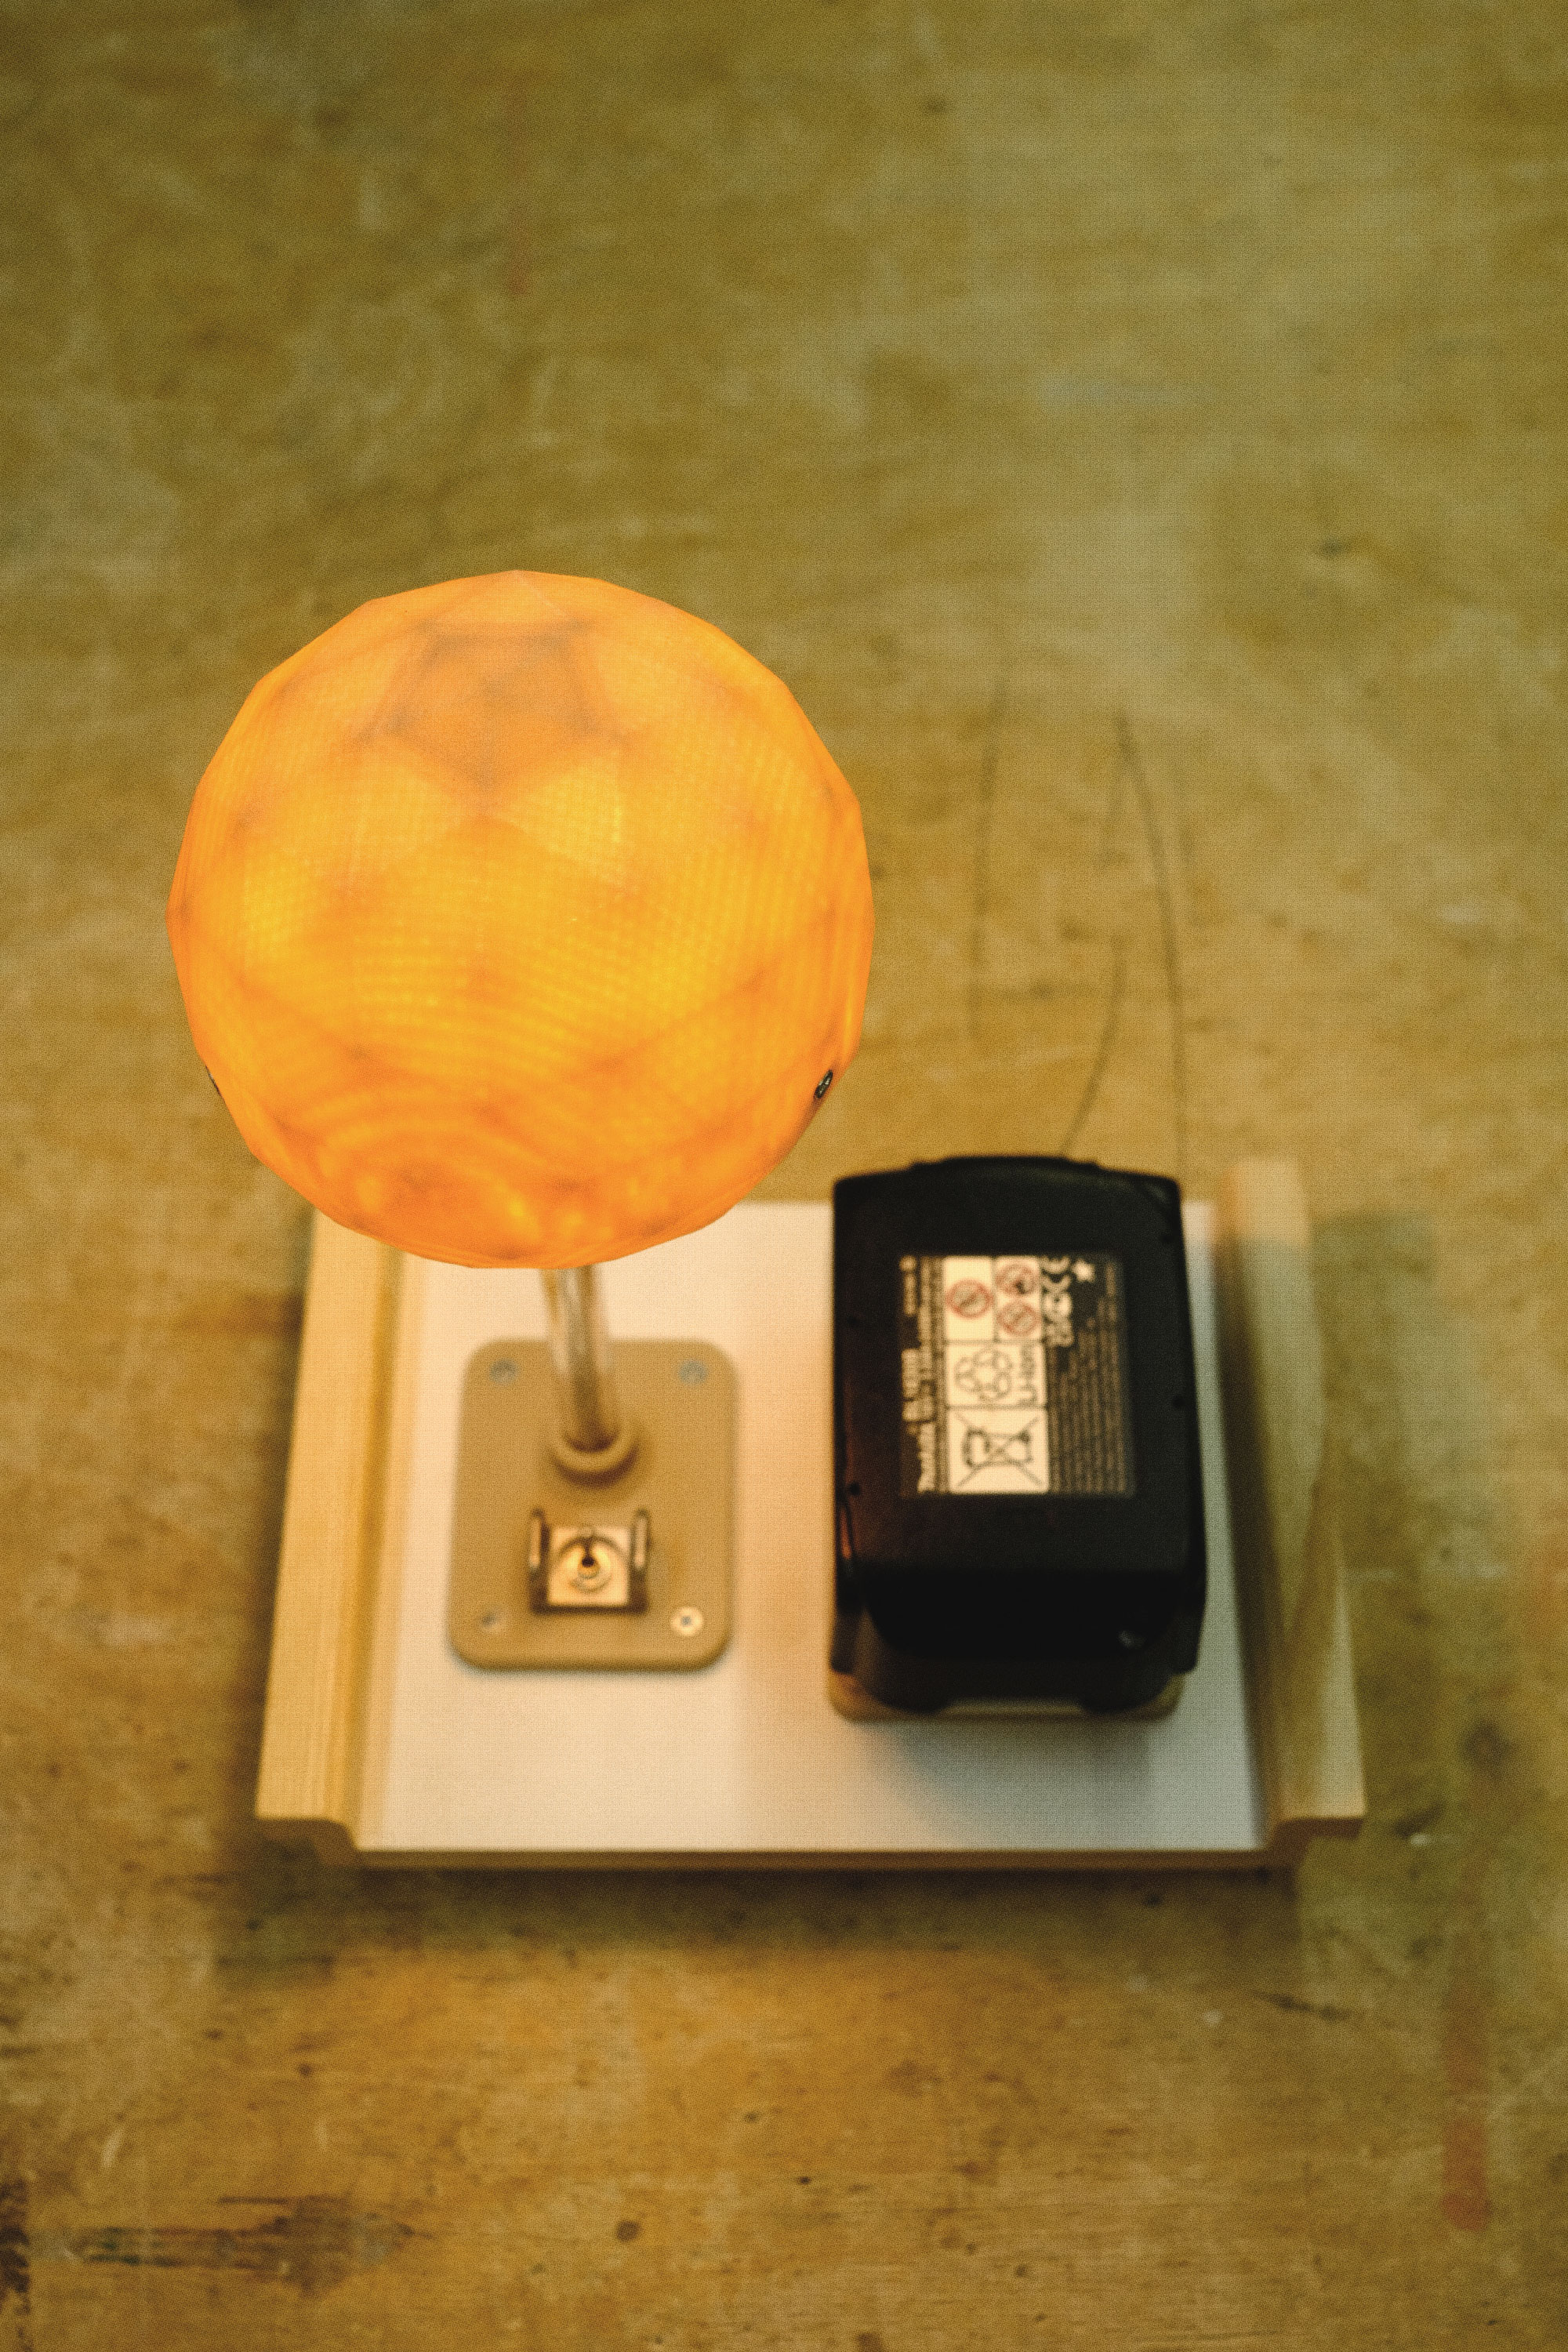
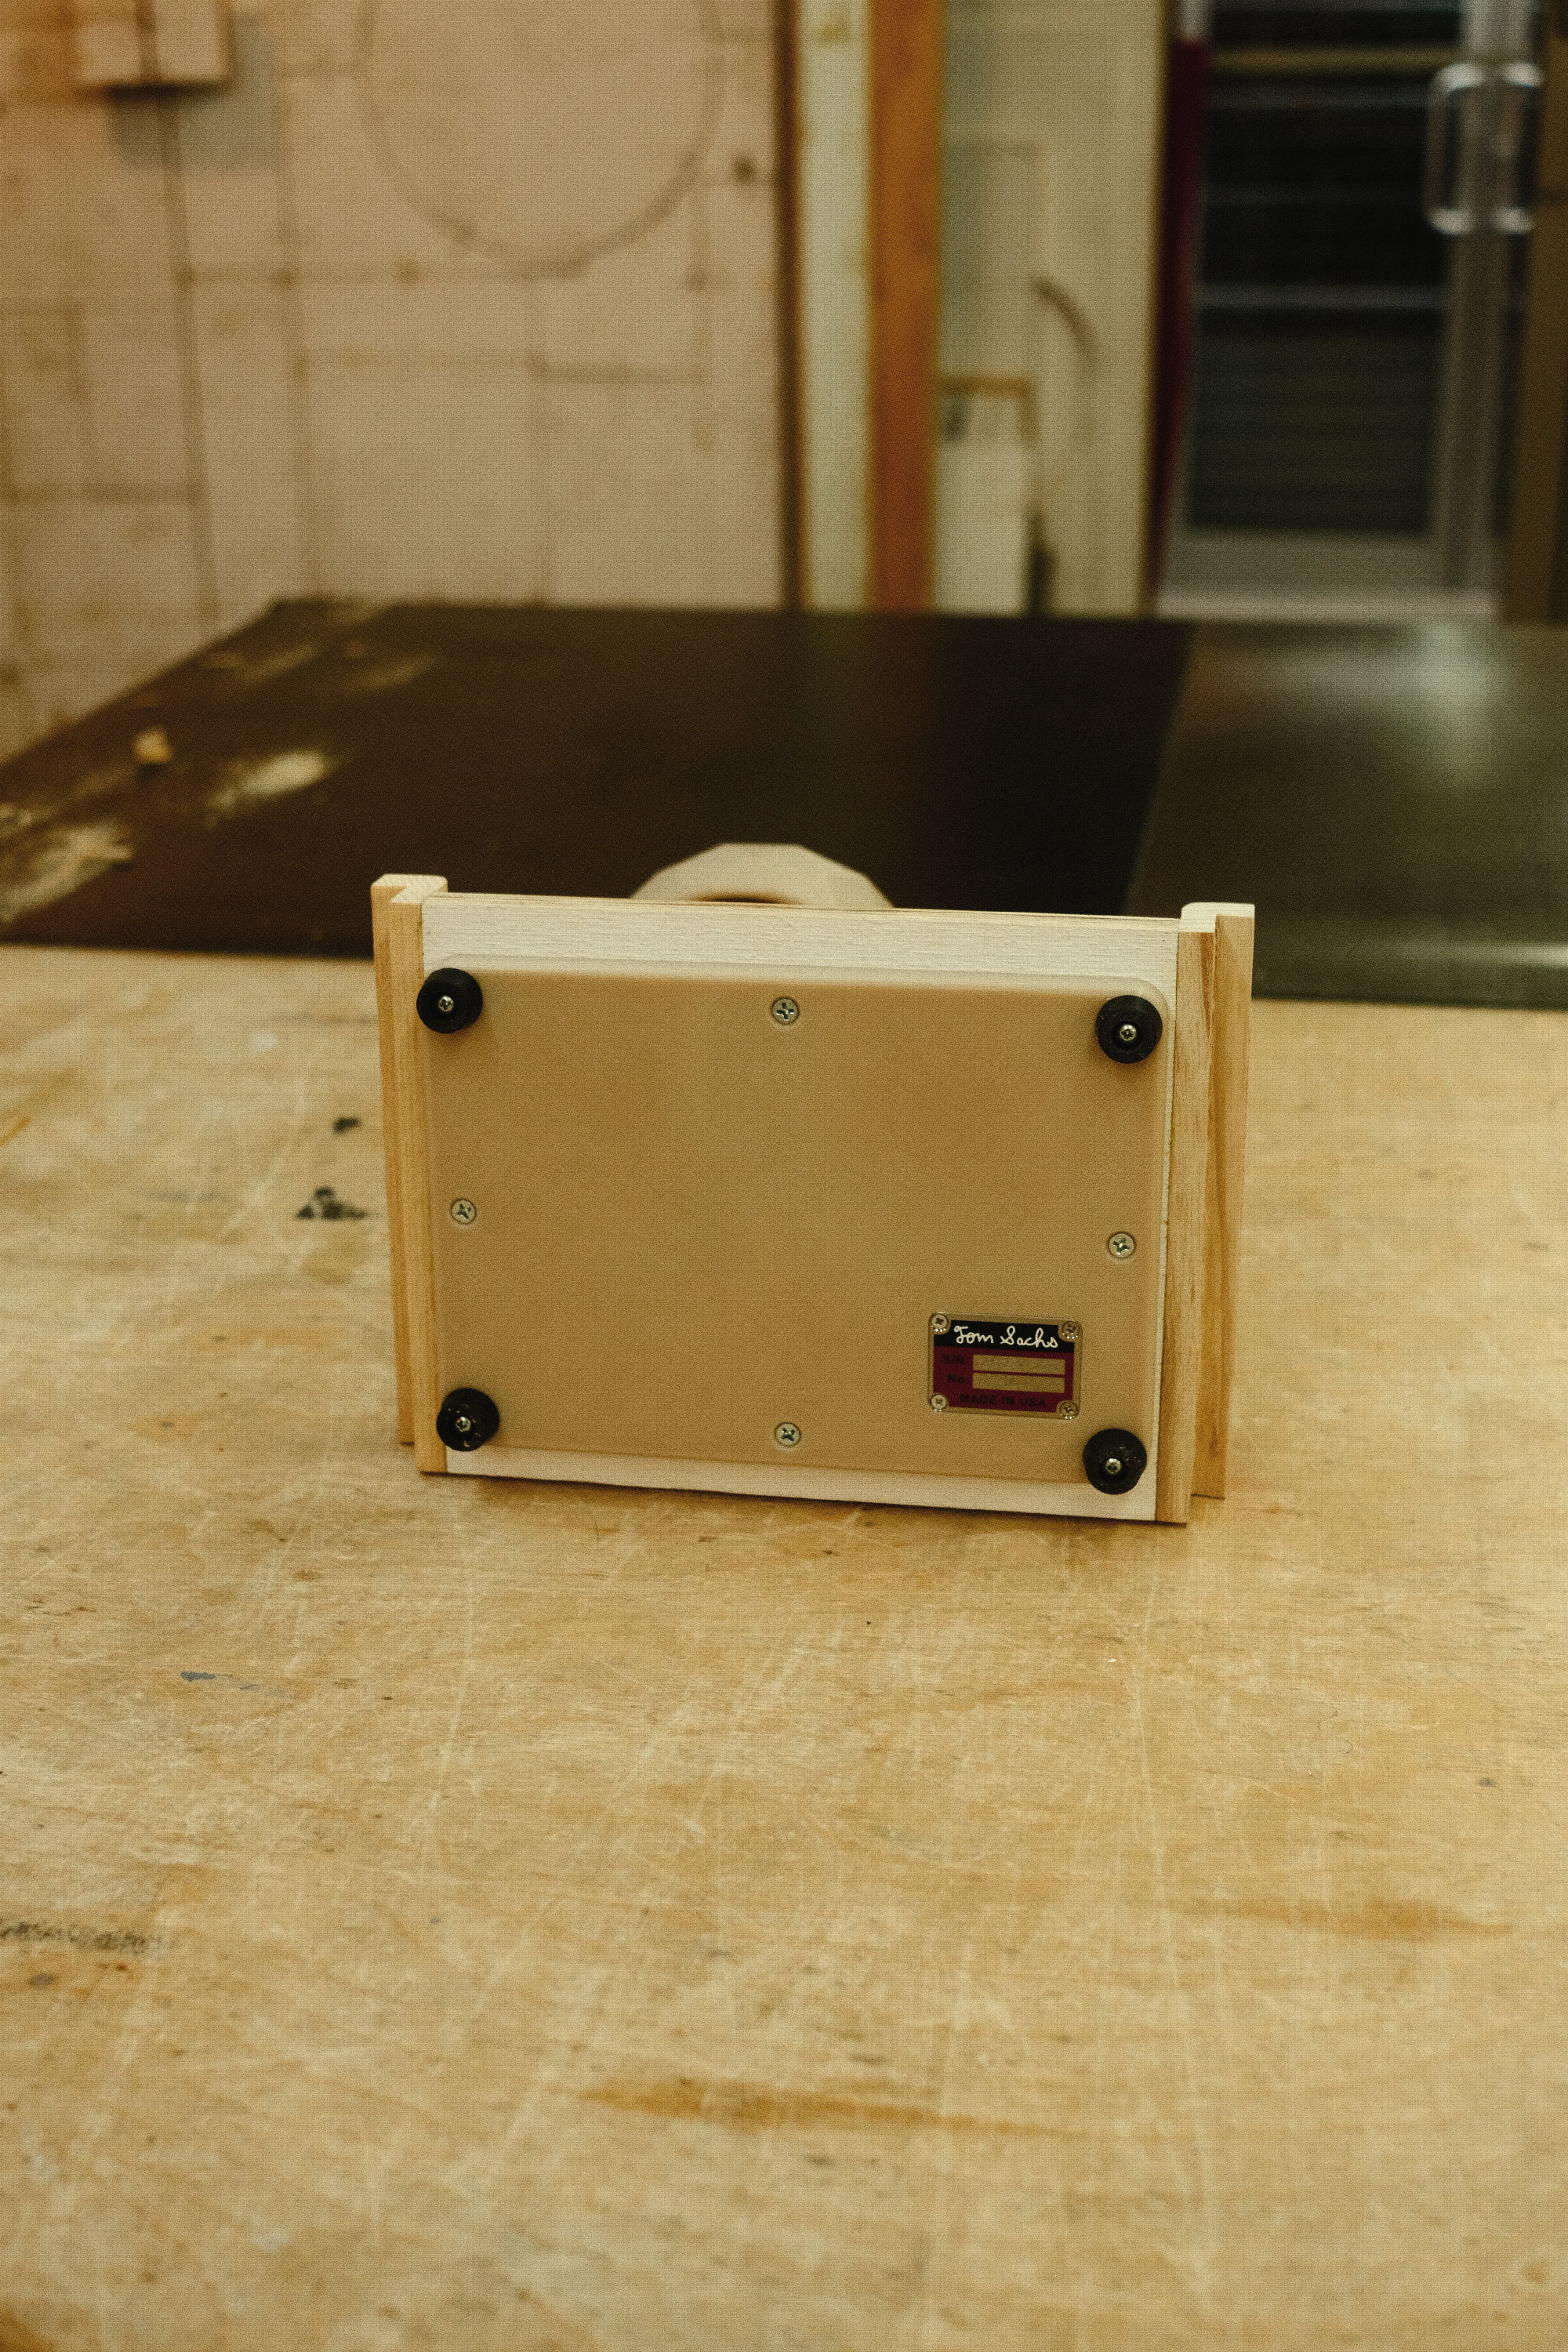
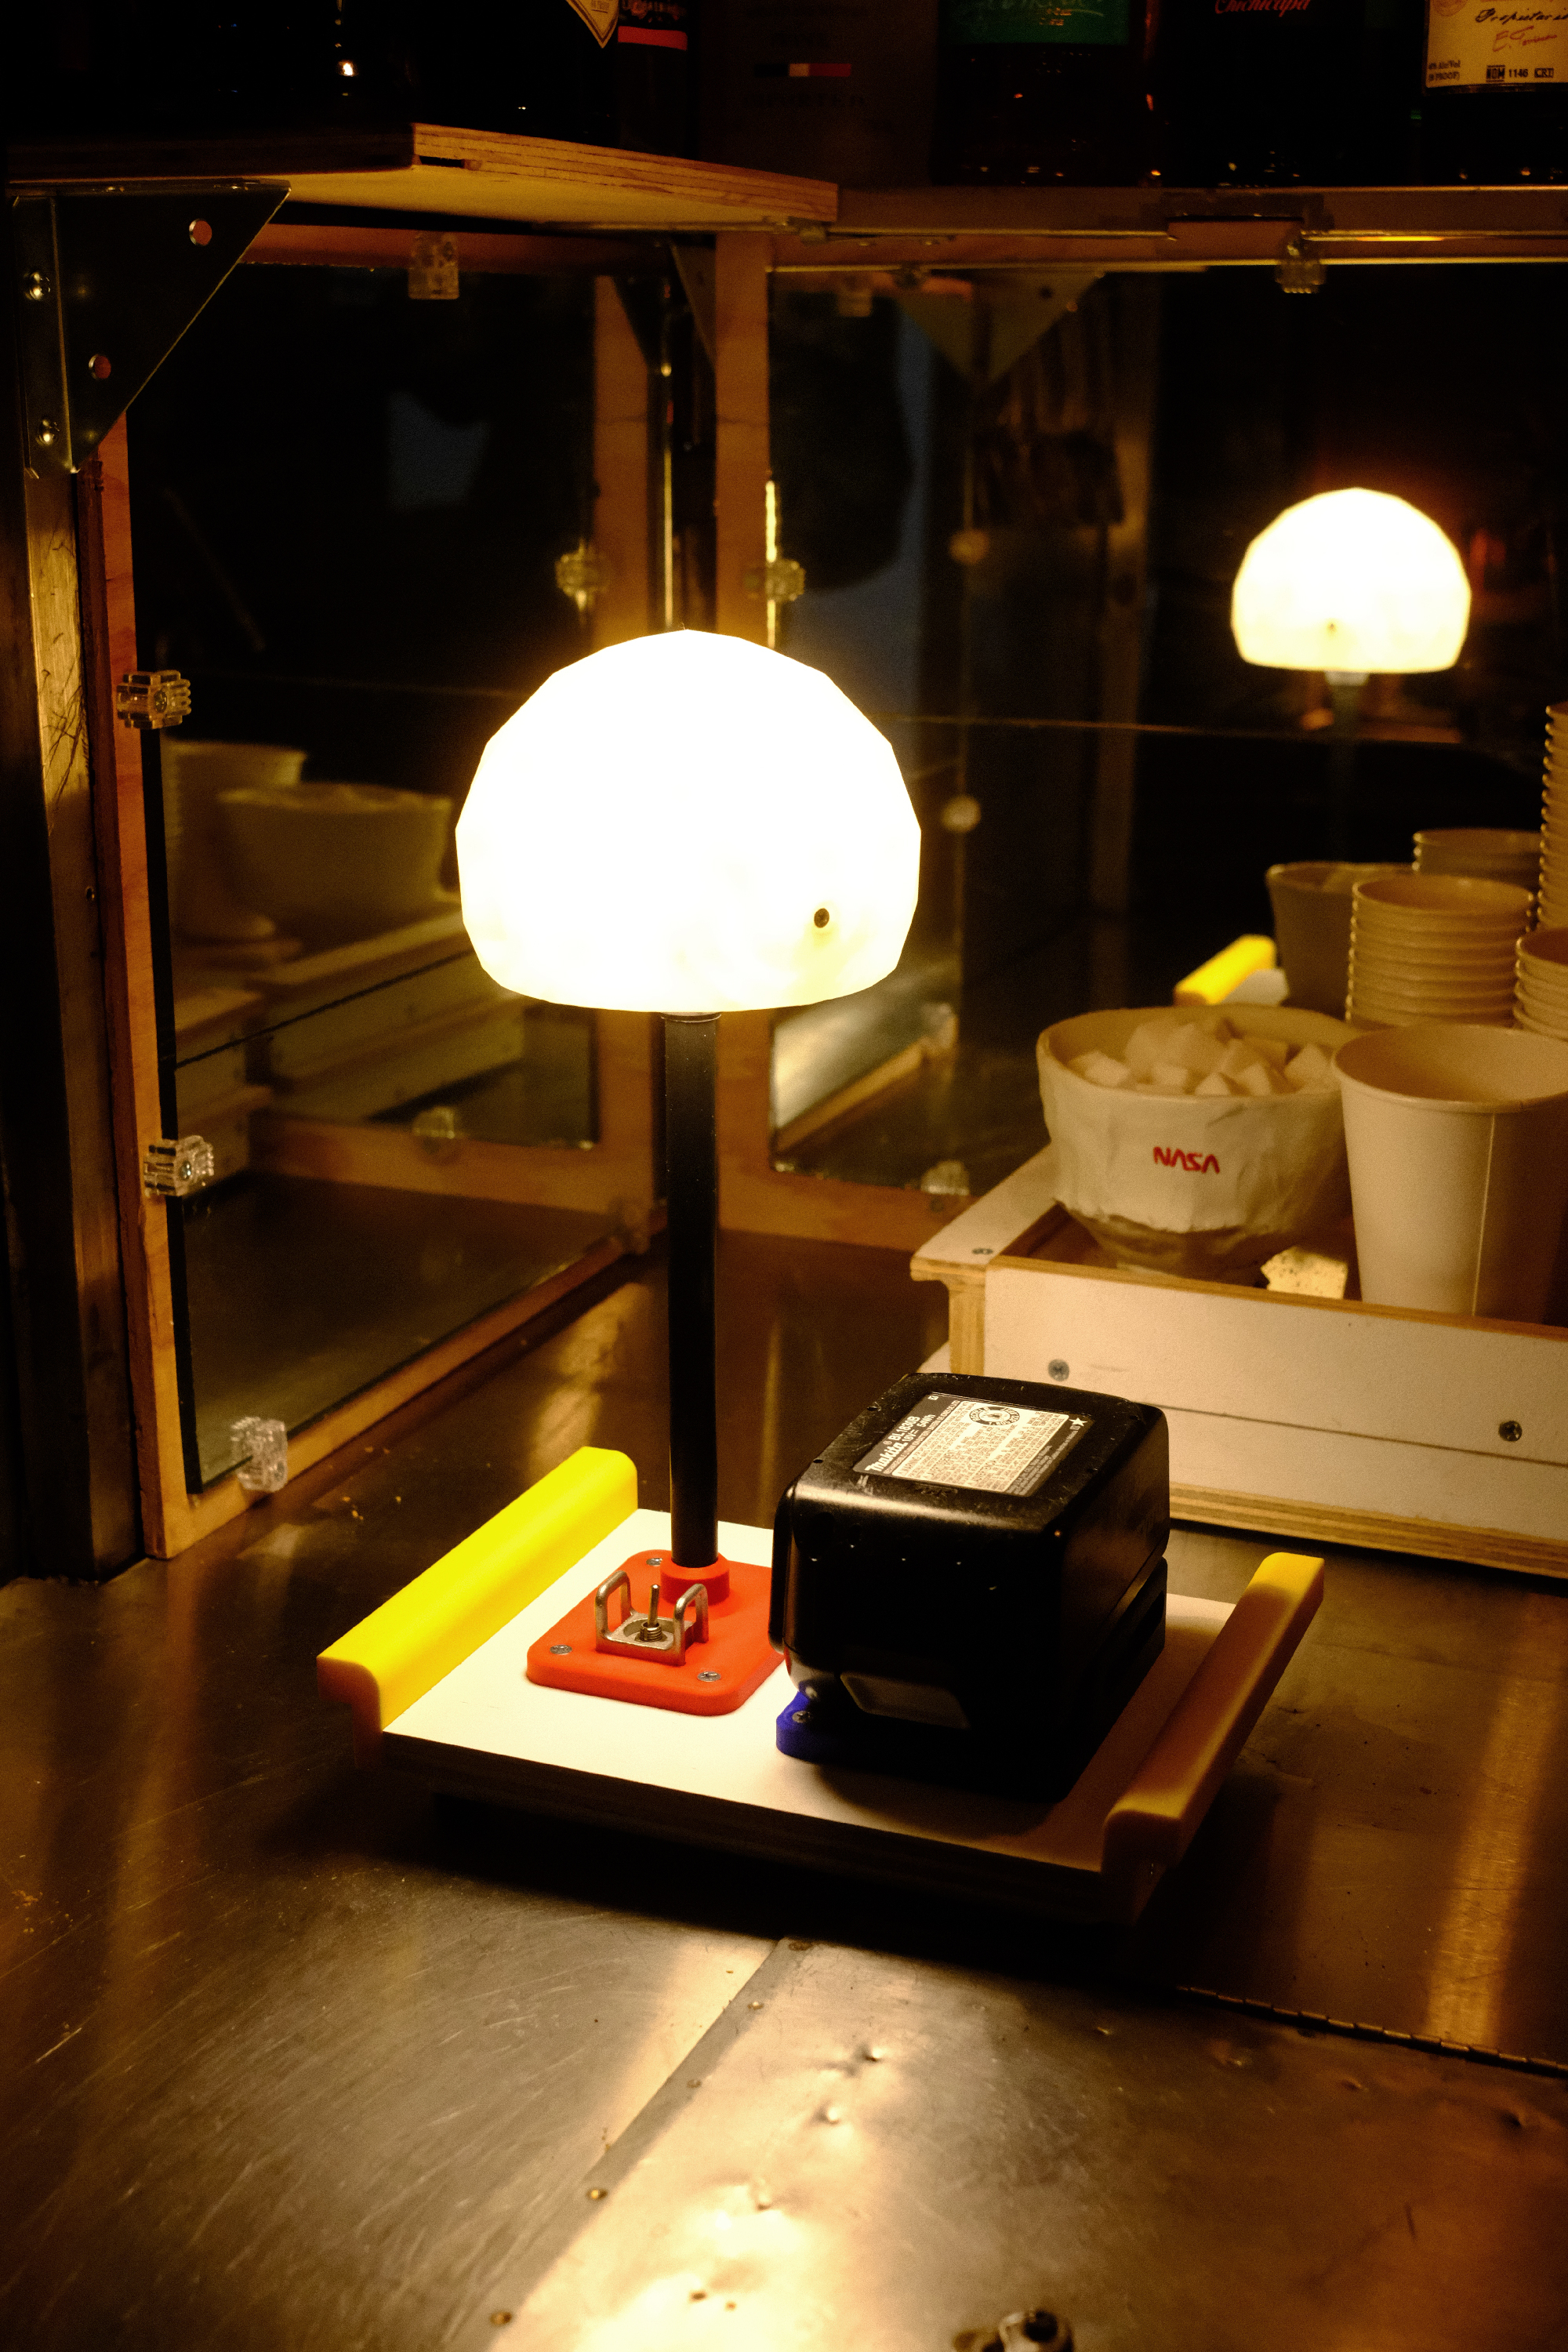
Dome Lamp
Tom Sachs / ISETAN
Like most projects of this nature it begins with seeing others making a thing and then thinking, “That’s cool but I’d change blah blah and blah blah...”. At first the contemplation is a matter of modifying what already exists and at some point a flip occurs - this would all be much easier if I just started from scratch.
Around the tail end of 2020 we spied restaurants migrating their seating to outdoors (post pandemic lock downs). Set atop their spotless linens were battery operated lamps. What a perfect use for a Makita power source...
Early iterations were minimal in their approach but prone to tipping over which happened often. Resulting in many a broken part and the eventual shelving of the idea. Fortunately for me I was allowed to keep the prototypes but unfortunately for the public that meant no tangible product for their consumption.
Flash forward to a recent sidebar conversation Tom and I were having about products being offered at his upcoming Isetan show. He wanted something new that he hadn’t sold before. I put two and two together: now would be an ideal time to revive that cursed lamp project.
This newer design has several improvements. We enlarged the base to make it less prone to tipping over. A tougher material was used for the printed components to ward off clumsy hands. Studio code conEdRails were added to the sides for better handling. Best of all, it’s SMUT* tray compatible!
*SMUT = Sachs Modularized Utility Tray (Smutshow Zine 2017)
What I love most about this lamp is that it wasn’t enough that it merely existed as a satisfying object. It had to establish its place in a broader ecosystem of ‘things’ in the Tom Sachs universe. Is it sculpture? Is it furniture? Is it disposable? Depending on where it resides on the spectrum there are numerous implications and many hours of healthy debate.
To me it sits somewhere in the middle. While it uses some new fangled rapid prototyping processes it’s consciously married to studio materials. Each lamp was laboriously assembled by hand in the sacred space known for birthing Sach’s acclaimed sculptures with strict adherance to the hallowed studio code.
A limited batch will be offered at Tom’s upcoming show at Isetan this September 2023.
PLA+ Filament
Battery Protection Board
Pololu Step Down 5v/600ma Reg
Apollo Era Switch Protector
Con-ed wooden rails
3/4” Plywood
Makita Battery
Edition of 20
Y1_002